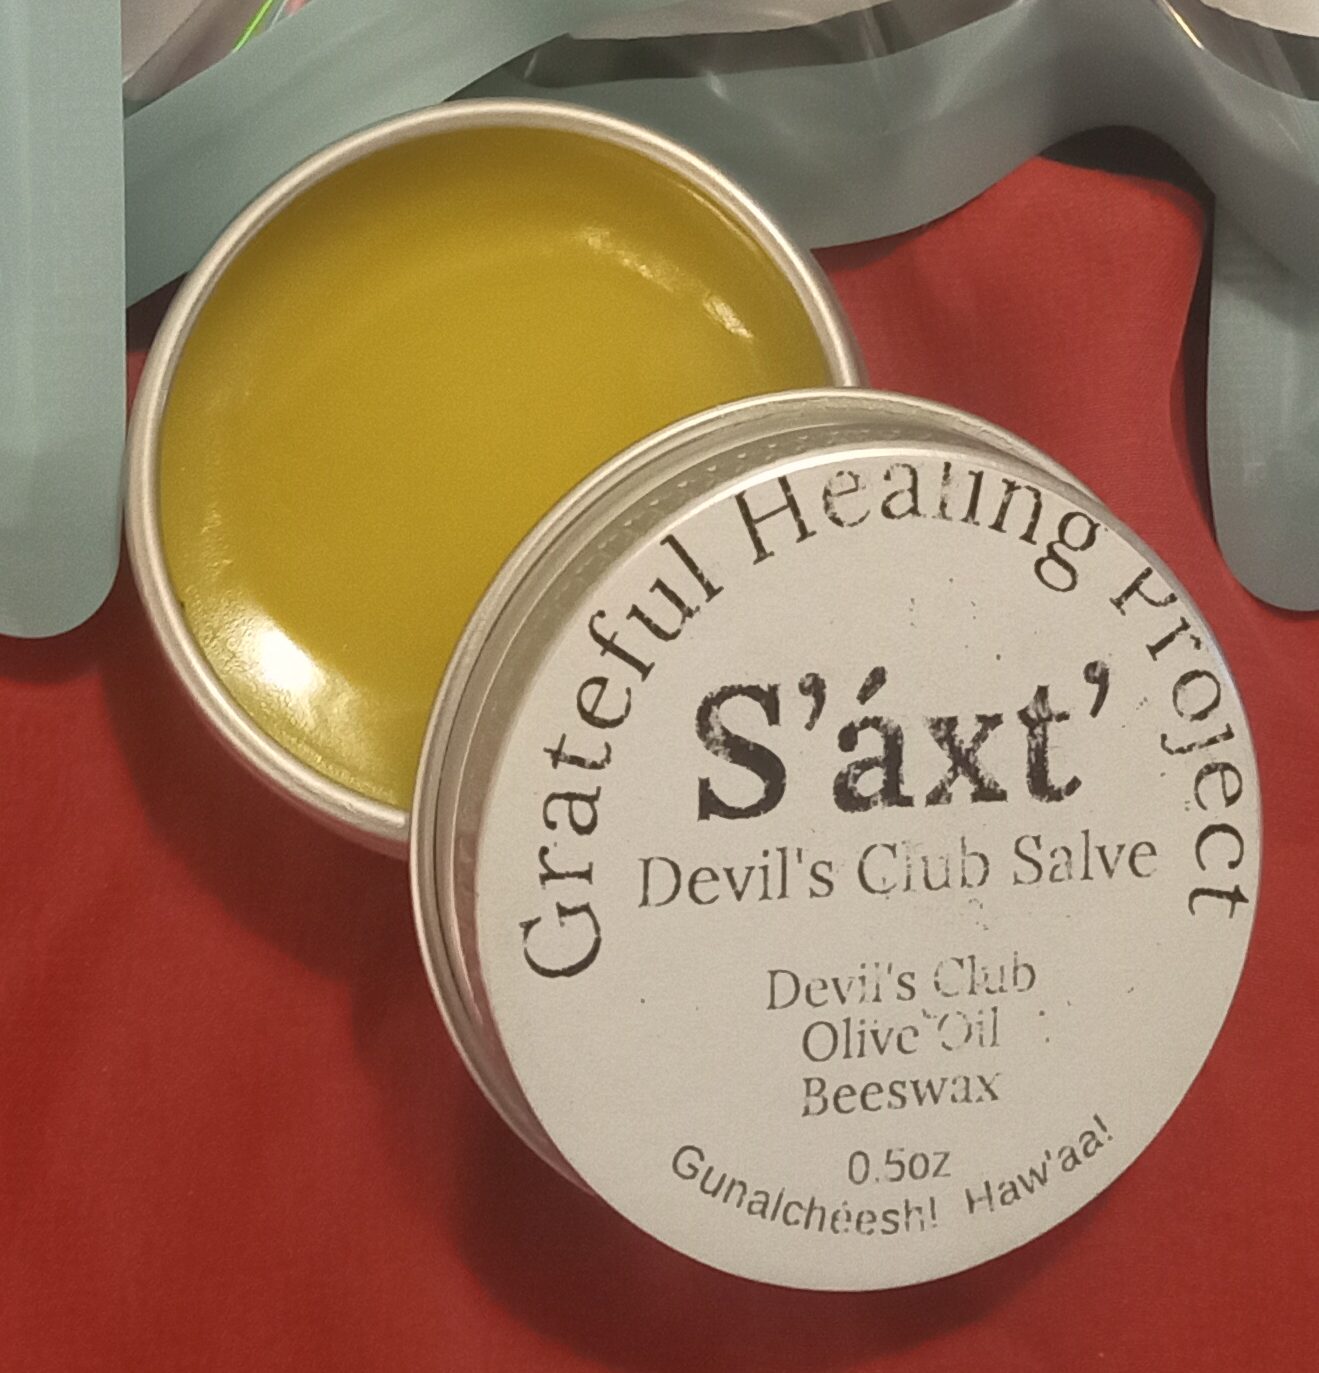
• Hello! Welcome back. This post will describe how I’ve made the devil’s club salve for the project.

    1. Gather your things!

    Materials needed:
    Double boiler setup.
    Devil’s Club Oil.
    Beeswax.
    Measuring cup, or anything for dispensing.
    Containers to hold the final product.
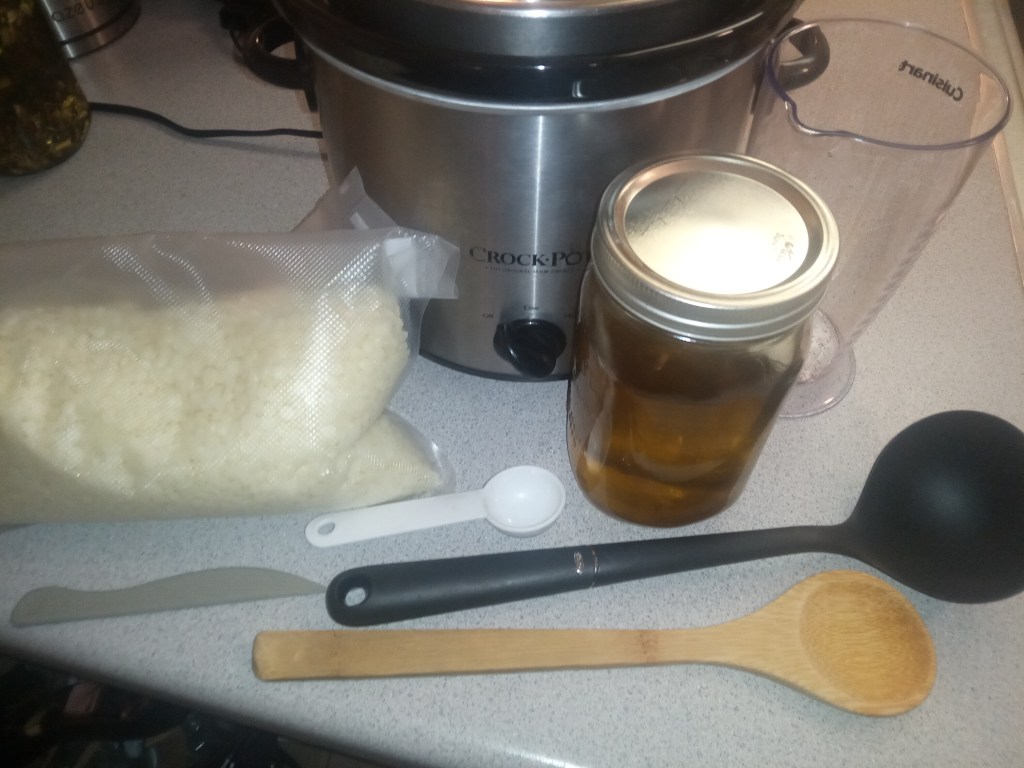
    First, gather and set up all of your equipment and tools. Keep in mind that these tools will be in contact with oily wax. I would advise against using your everyday cooking utensils. I recommend going to a thrift store to aquire a set of tools dedicated to this. I spent about $9.00 at the local St. Vincent de Paul thrift store and got a 2qt stainless steel bowl, a 3 cup measuring cup, a measured tablespoon, a wooden spoon, and a plastic ladle. Your results may vary, but you get the idea.

    For the double boiler you can use a pot of water on the stove kept to a simmer with a metal, or tempered glass, bowl sitting on top of the pot. I used a crock pot with a stainless steel bowl suspended inside.

    Arrange your containers on a tray or a cookie sheet to minimize messes.

    2. Heat up your oil and add beeswax

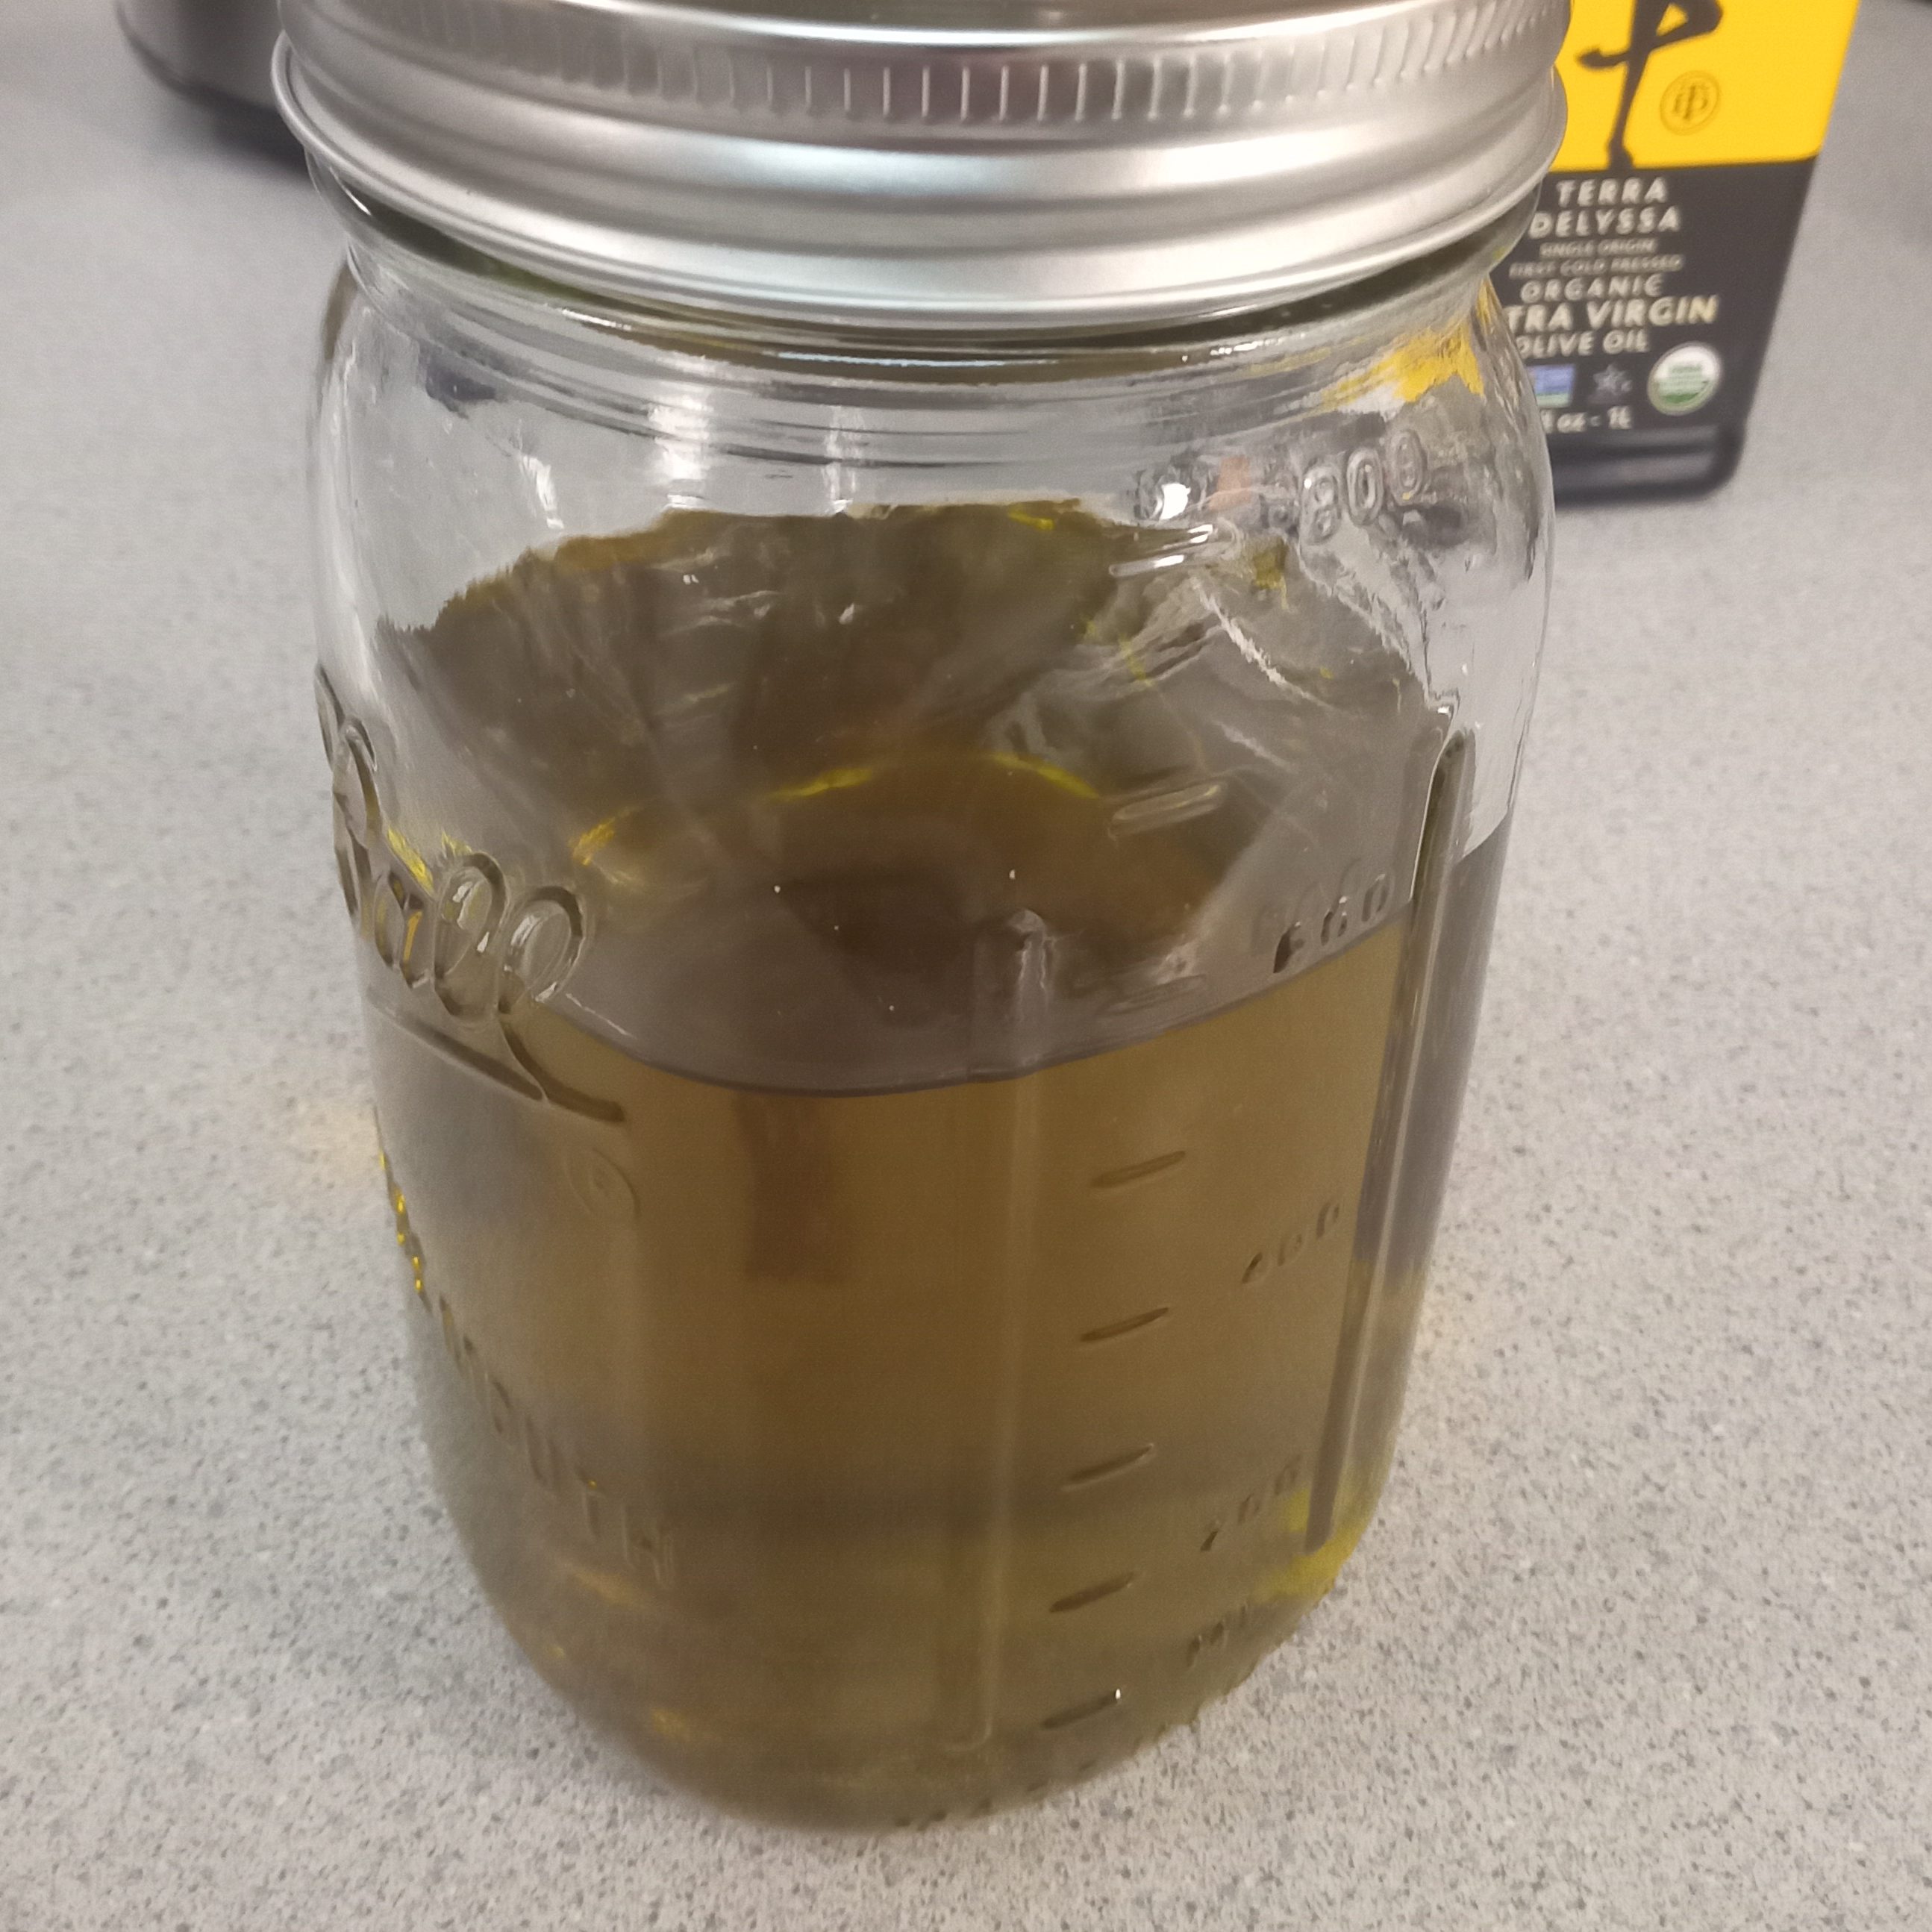
    You will need a neutral oil infused with the inner cambium of Devil’s Club. You can click here to check out this post about how it’s made.

    The ratio of beeswax to oil is roughly 1 to 5. That is, 1 part of beeswax for every 5 parts of oil. Both olive oil and Beeswax have a volume to weight ratio very close to 1:1 (~0.916 g/ml and ~0.965 g/ml respectively). This means you can sort of mix and match your units if that makes it easier, since oil is easier to measure volume, and beeswax can often be more easily measured by weight. For example, you could measure 500mL of oil in a measuring cup, and mix in 100 grams of beeswax that you weighed on a kitchen scale. Obviously this is not exact, but it really doesn’t need to be. I recommend working with multiples of 5 when measuring your oil in the double boiler to make it easier to calculate your wax needs.
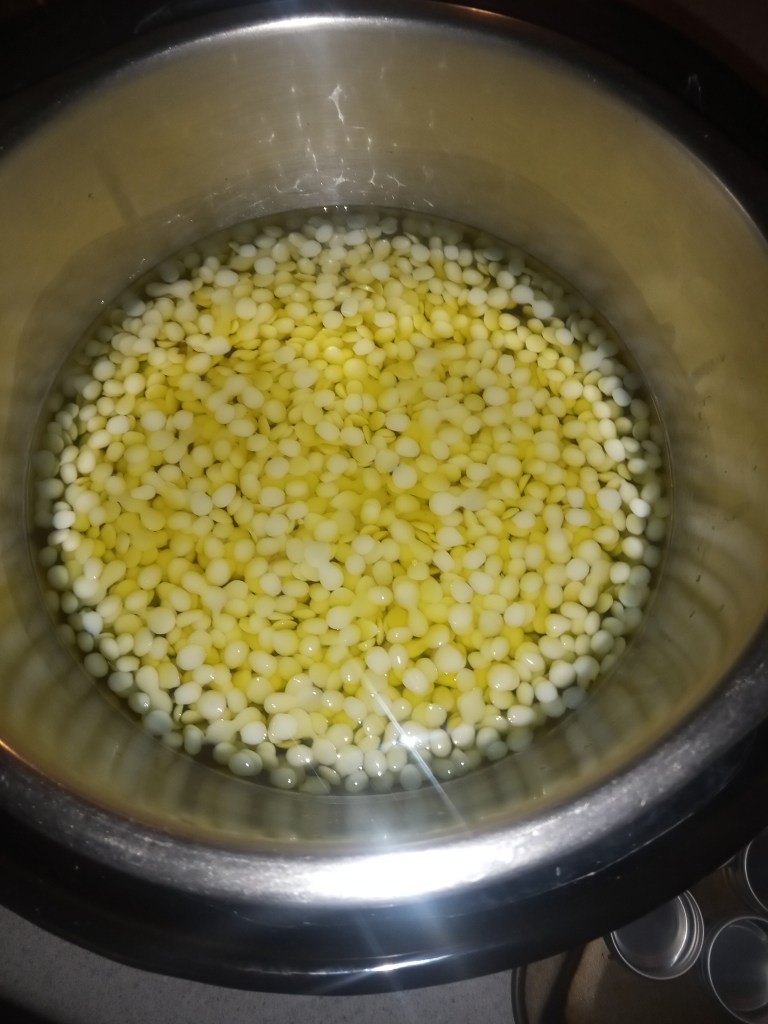
    Let the oil and wax heat up until the wax has completely melted and thoroughly incorporated into the oil.
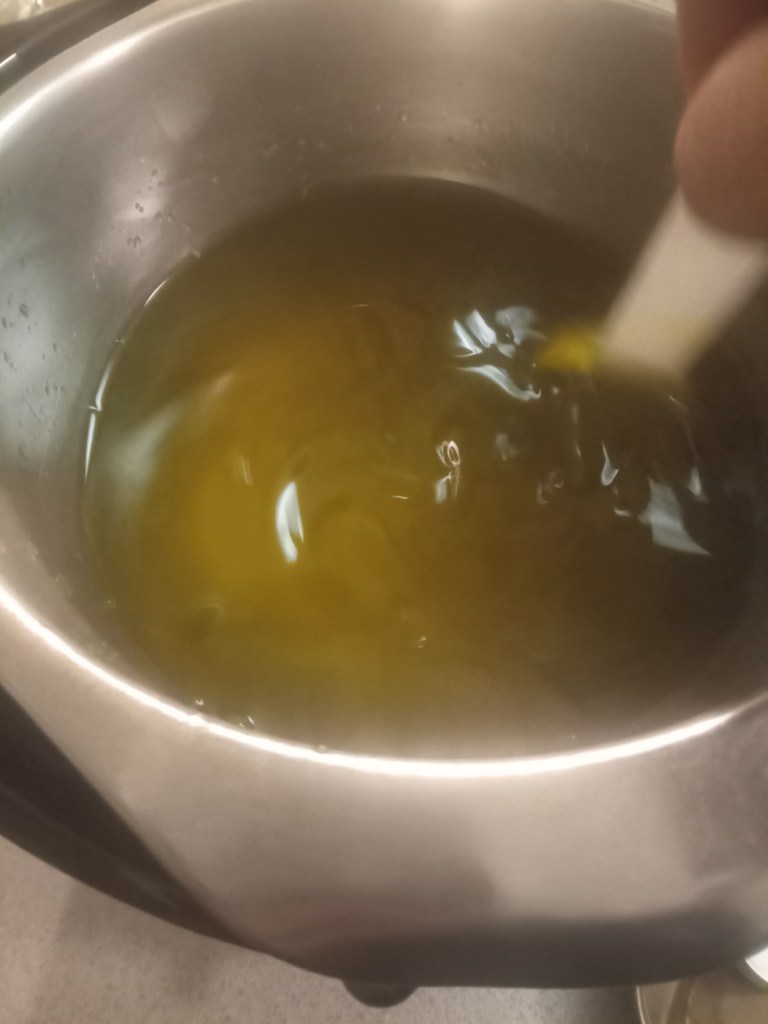
    3. Test it!

    At this point you can test the consistency of your salve by putting a few drops on a cold metal surface, like a clean baking sheet.
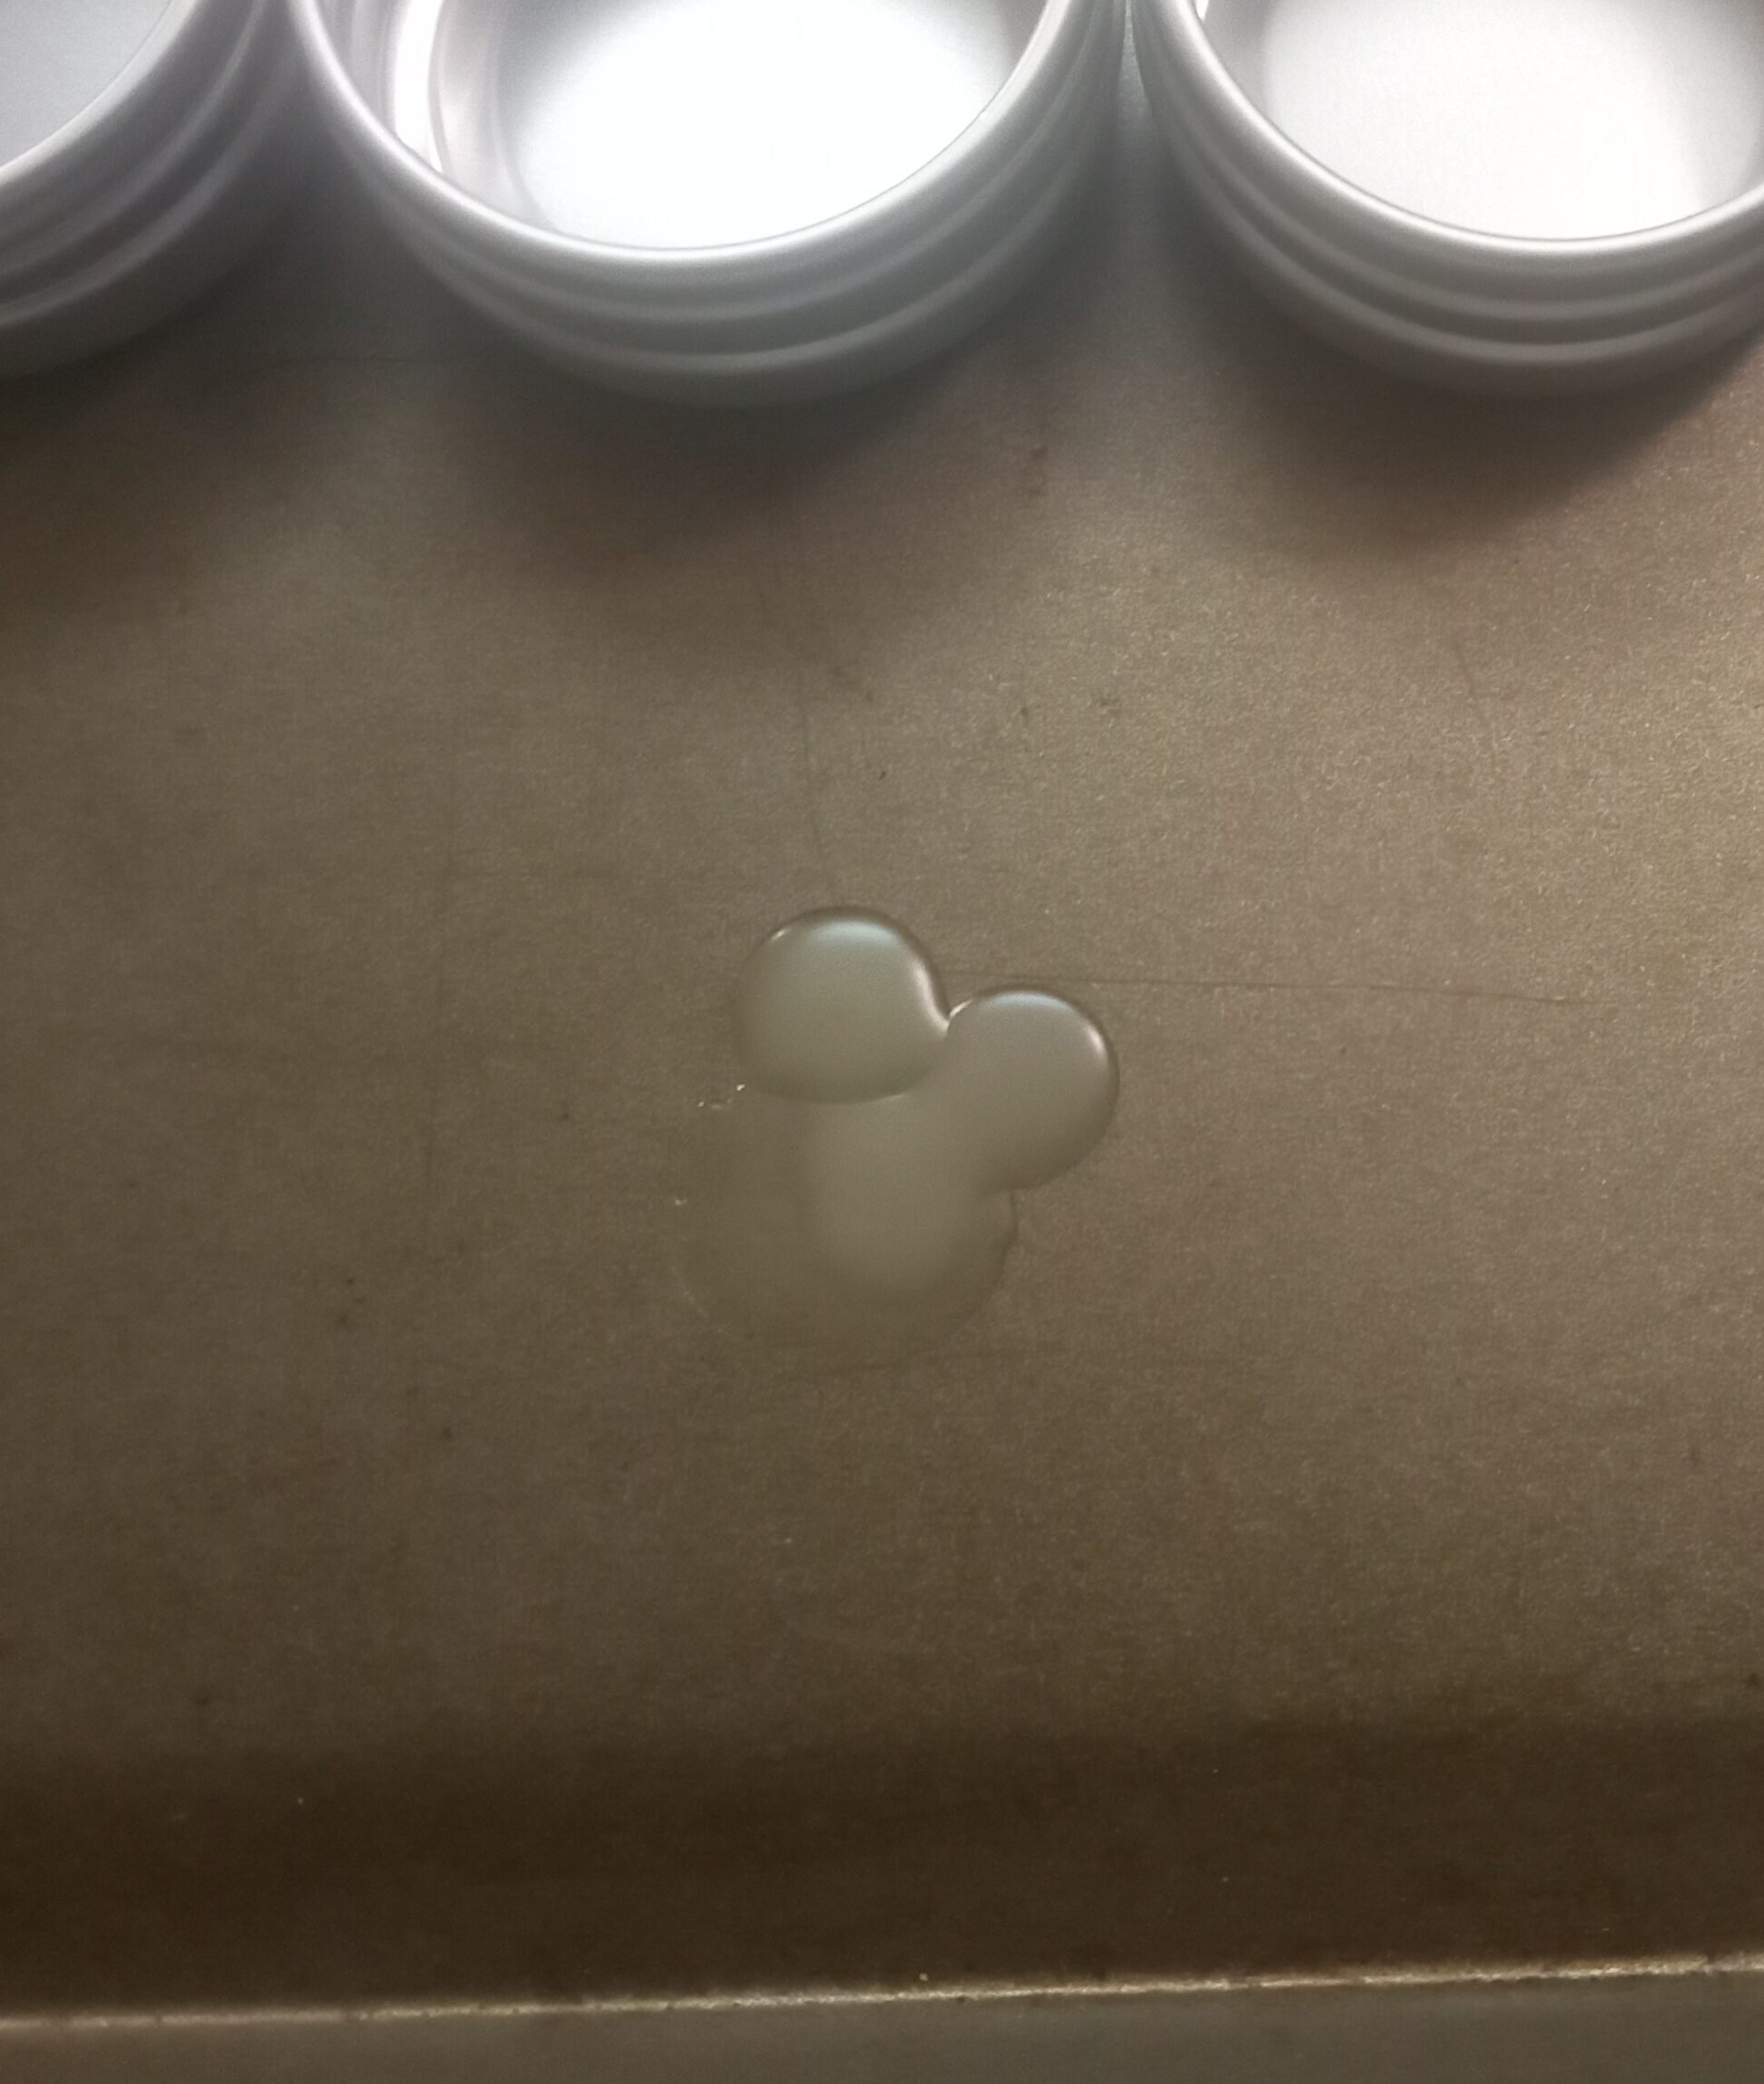
    If you find it too stiff, you can thin it out with a little of your infused oil and test it again. If its too thin and runny when cool, you can add a bit more beeswax. Take note of your final ratio so you can reproduce the consistency you like again later.

    4.Dispense it!

    Now you can begin dispensing the salve into your containers. Make sure your containers have nice fitting lids to keep your salve from drying out. Having an assortment of different sized containers is nice. You can make large containers for home use and small containers for gifts or travel.

    For the project, I’m using 1/2oz tins so I used a 15ML measuring spoon to make sure each tin was filled evenly.
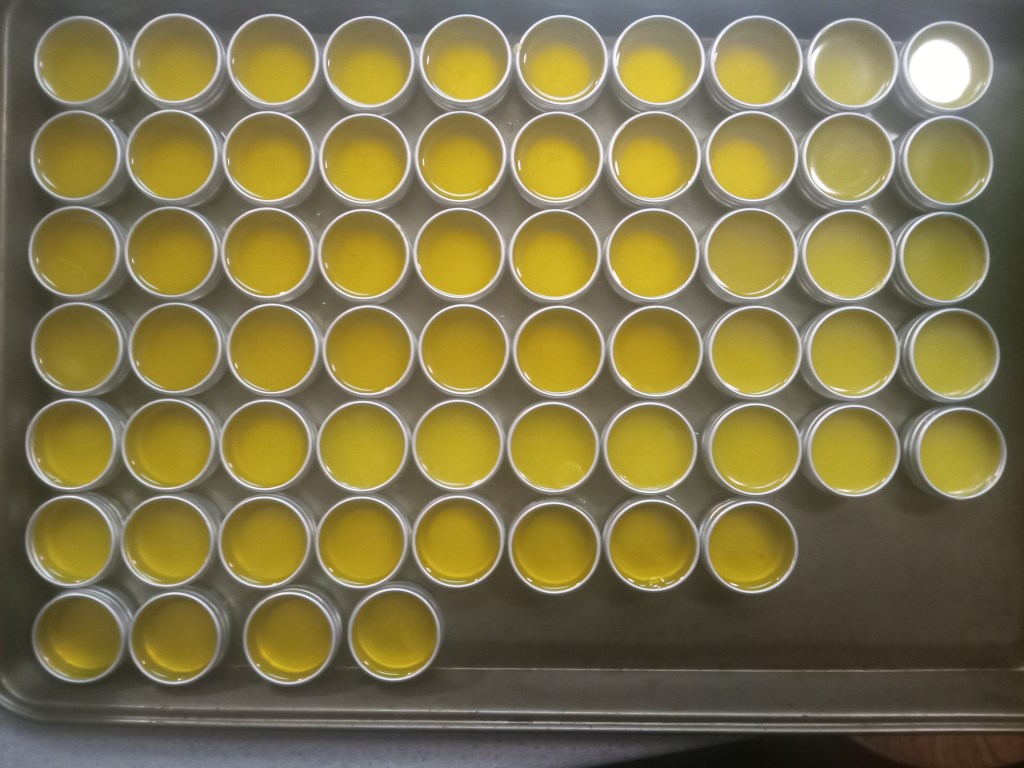
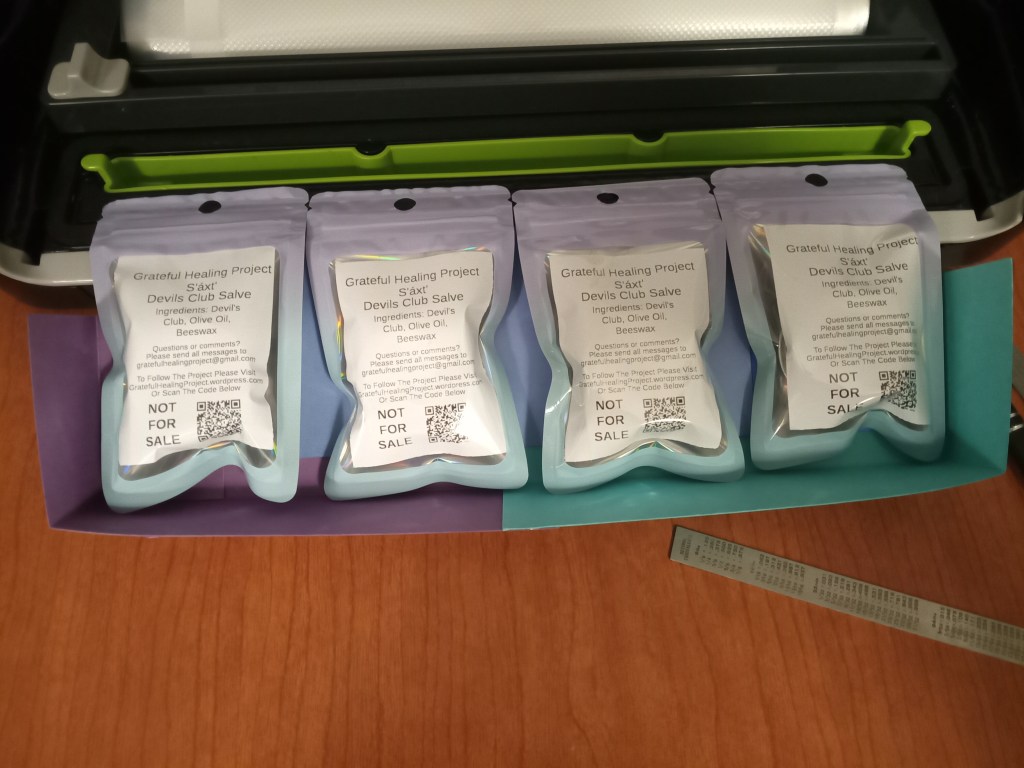
    After screwing the lids back on and wiping then down with a clean cloth, each tin gets a label, goes in a bag and gets sealed with the food saver. I made a little card stock jig to seal 4 at a time.
    The final product came out very nice and three majority of it has been distributed toTlingit & Haida’s Community & Behavioral Services Healing Center for their community vending machine located at the Edward K. Thomas building, and the Tlingit & Haida Elder Connection program.
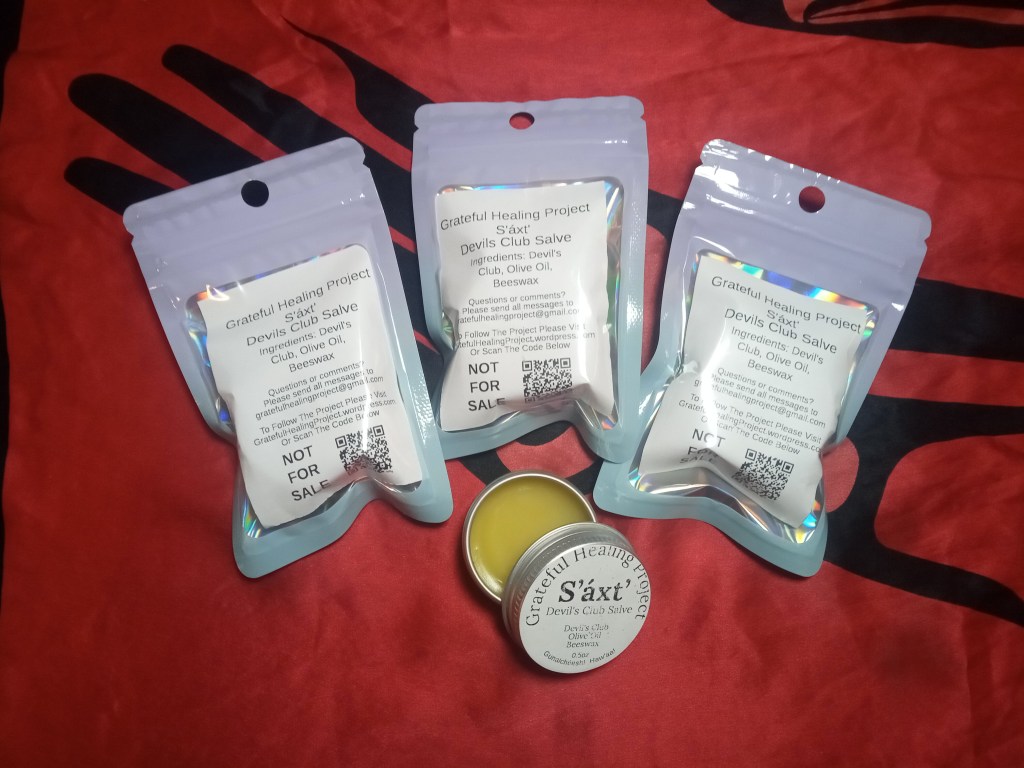
    The next batch will be coming soon. Gunalchéesh and thank you for reading!!
  • 1. Gather your things!

    Materials needed:
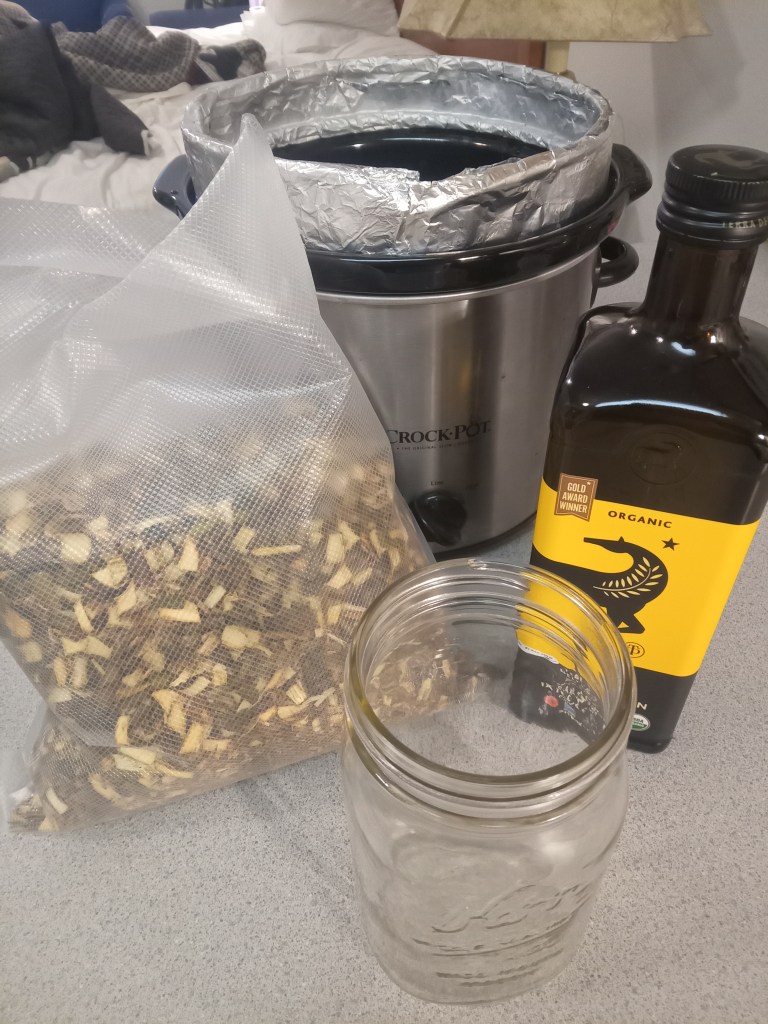
    1 quart sized mason jar, lid, and ring.
    2 cups of dried devil’s club chips.
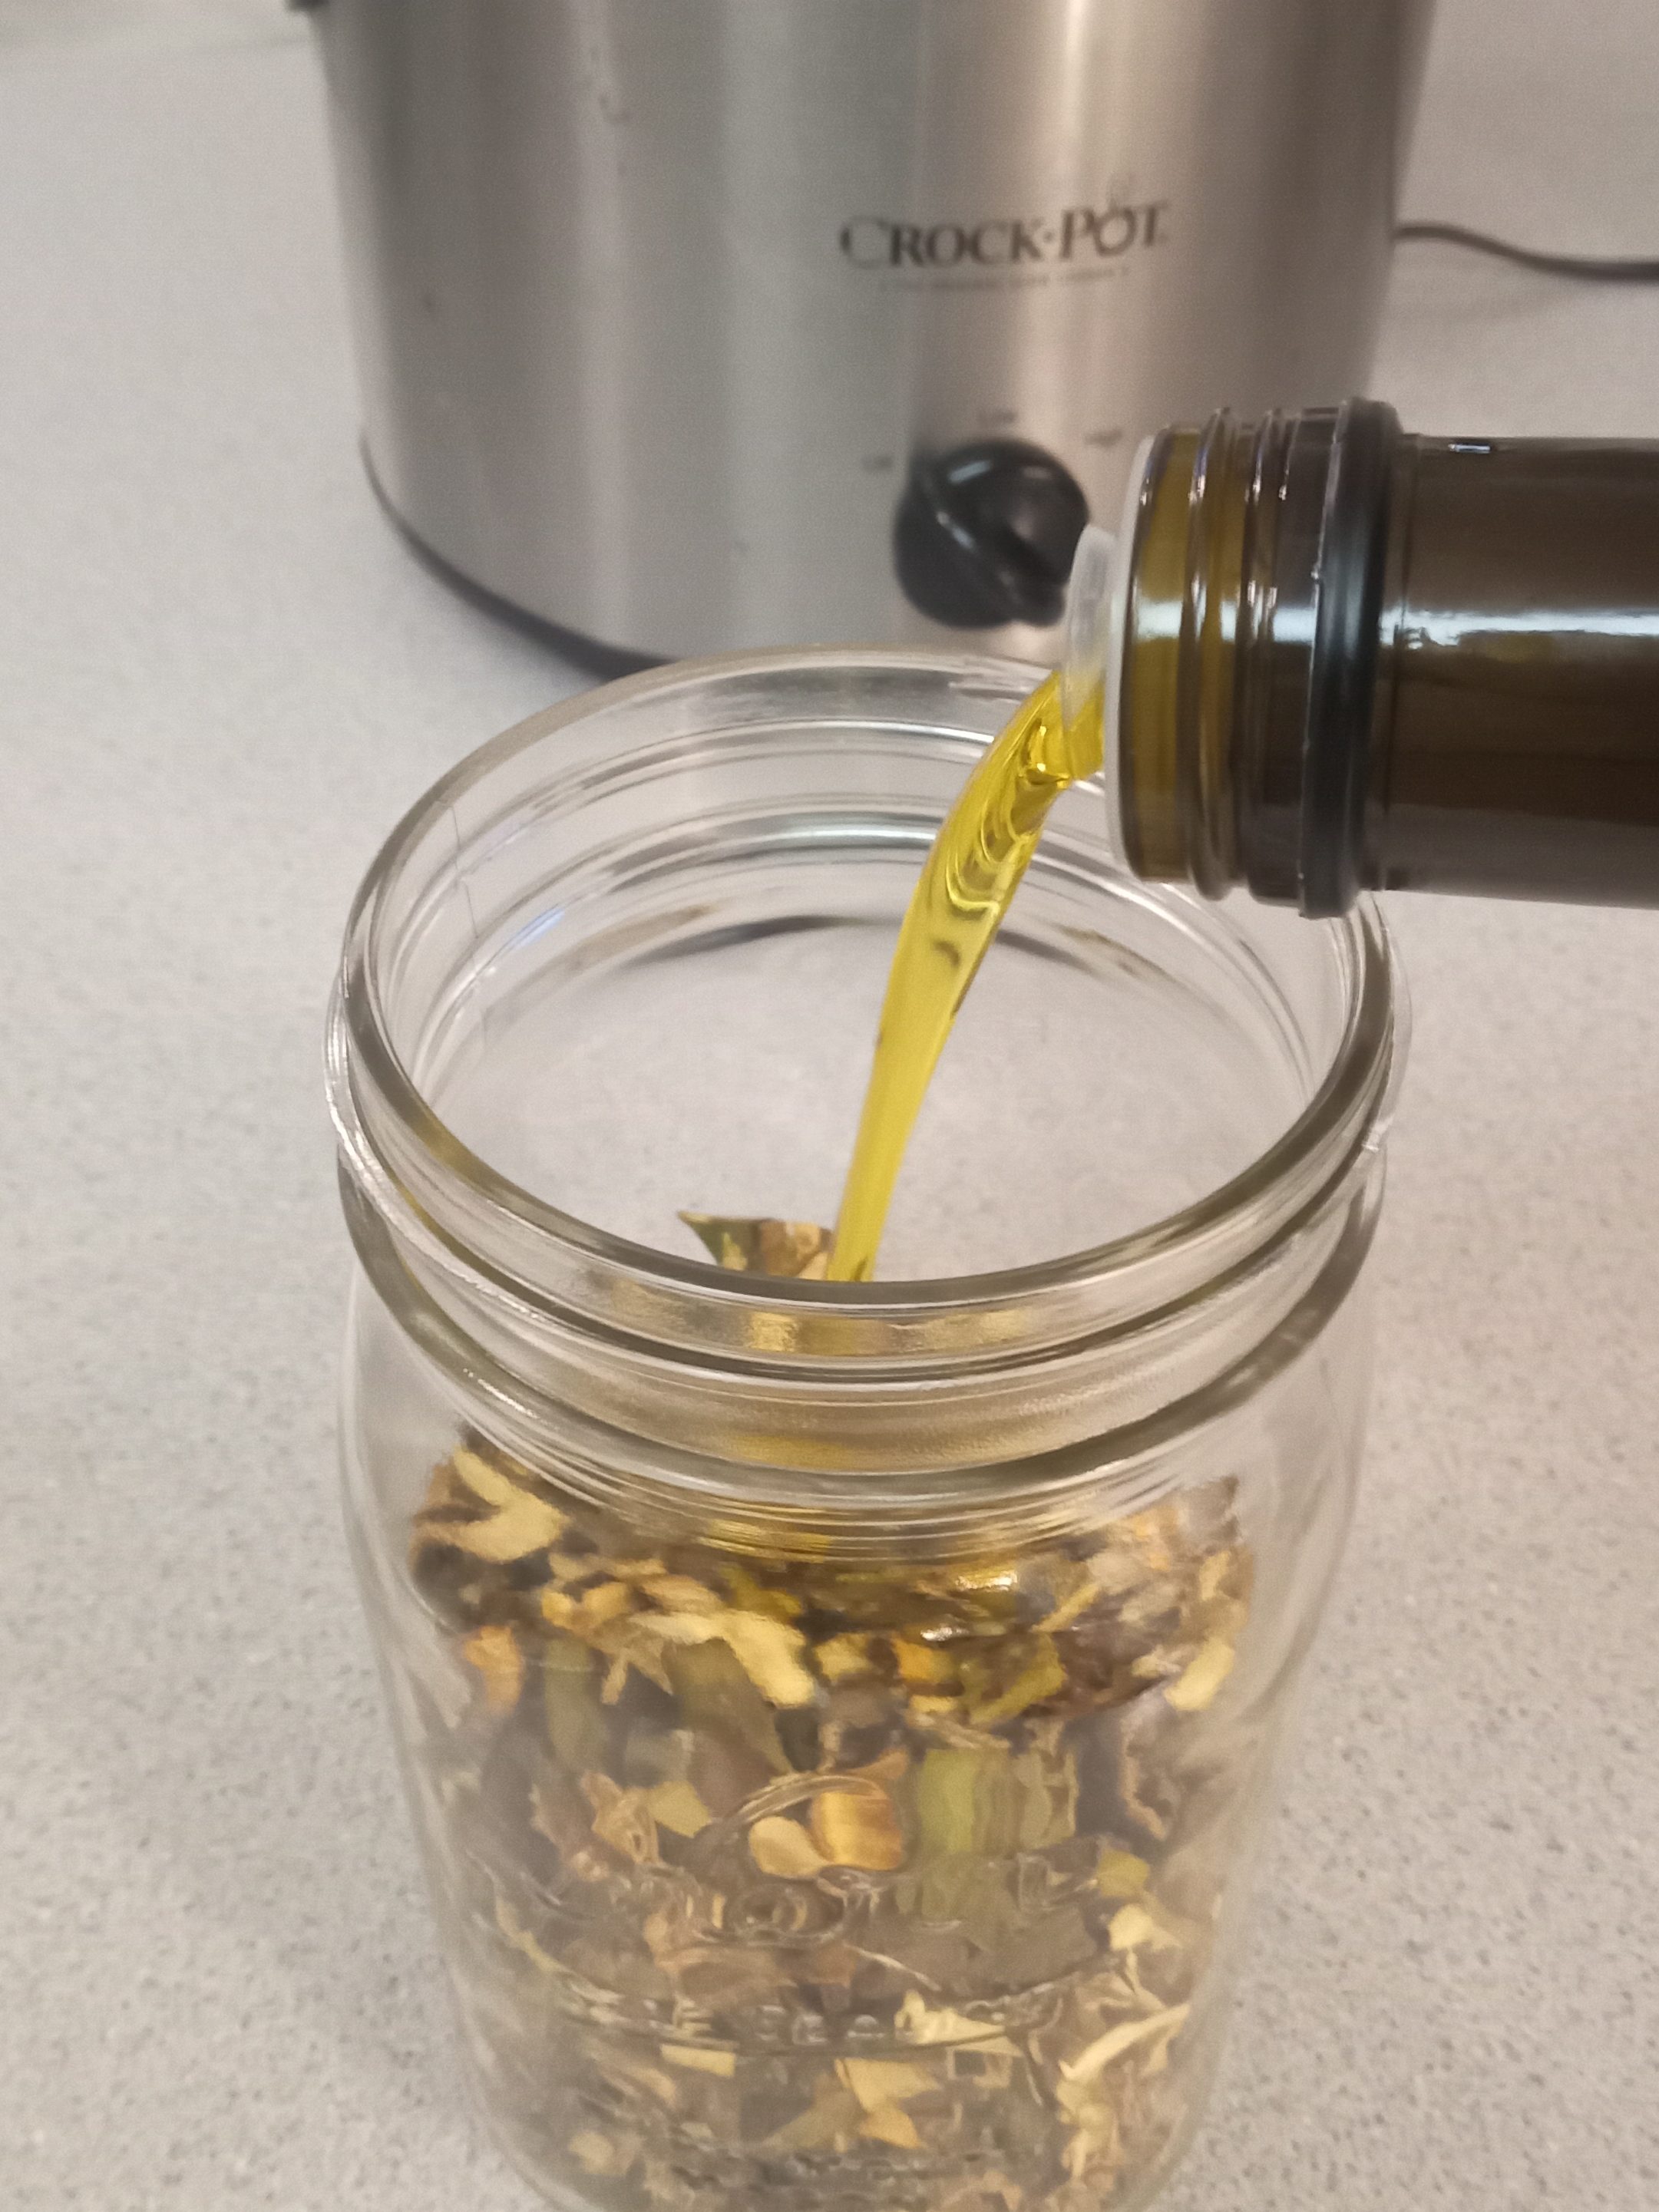
    1 quart of neutral oil (I use extra virgin olive oil)

    2. Fill your jar!

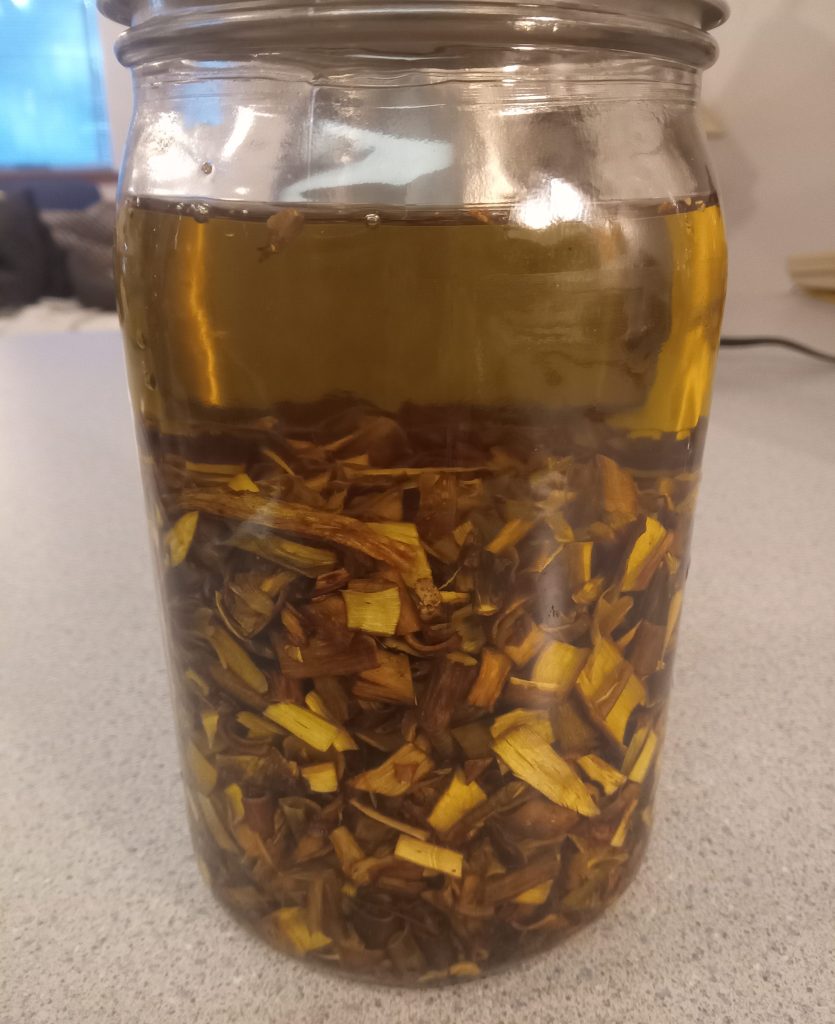
    Fill the jar about half way with dried devil’s club chips (about 2 cups), and pour in olive oil until it’s nearly full.  Leave some headroom.

    3. *optional step*

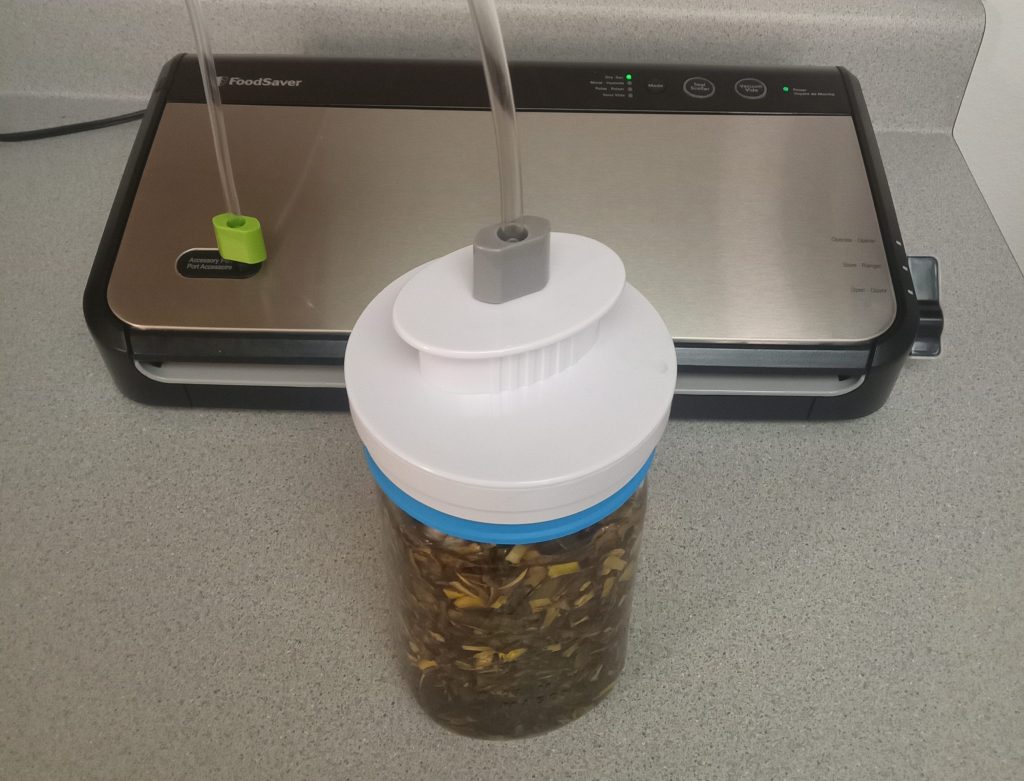
    I use a Foodsaver jar attachment to put the jar under vacuum several times. I think it helps the infusion.

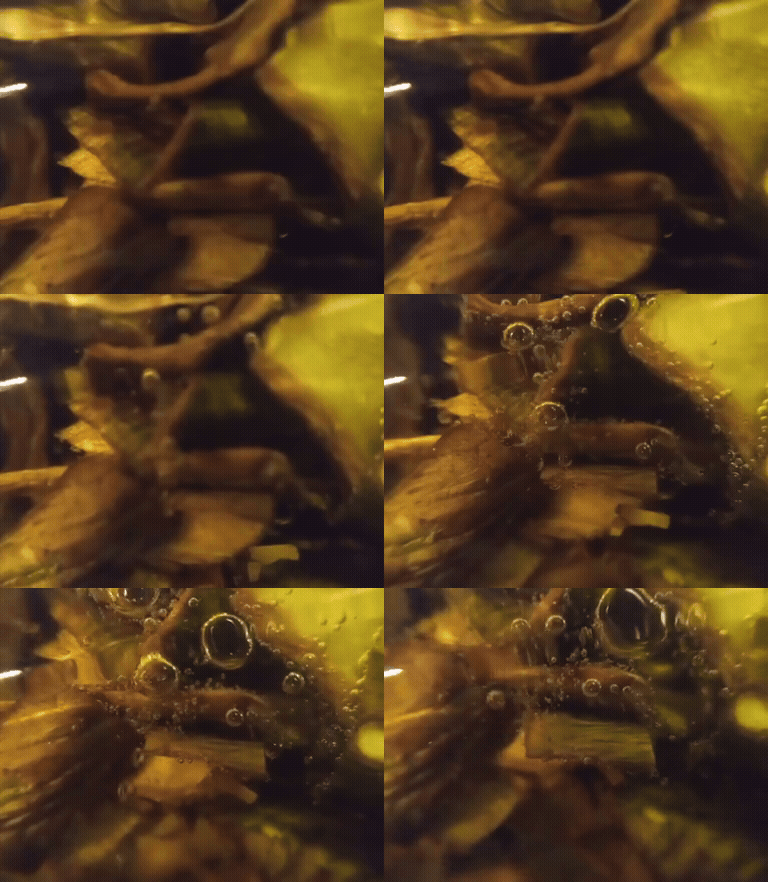
    Here’s an animated gif I made at ezgif.com from a video I took with a macro lense. This was the moment I first put the jar under vacuum. You can mmediately see a large number of air bubbles rise to the top as the oil saturates the chips

    Once the chips stop producing bubbles seal the jar under vacuum one last time.

    4. Heat it up!

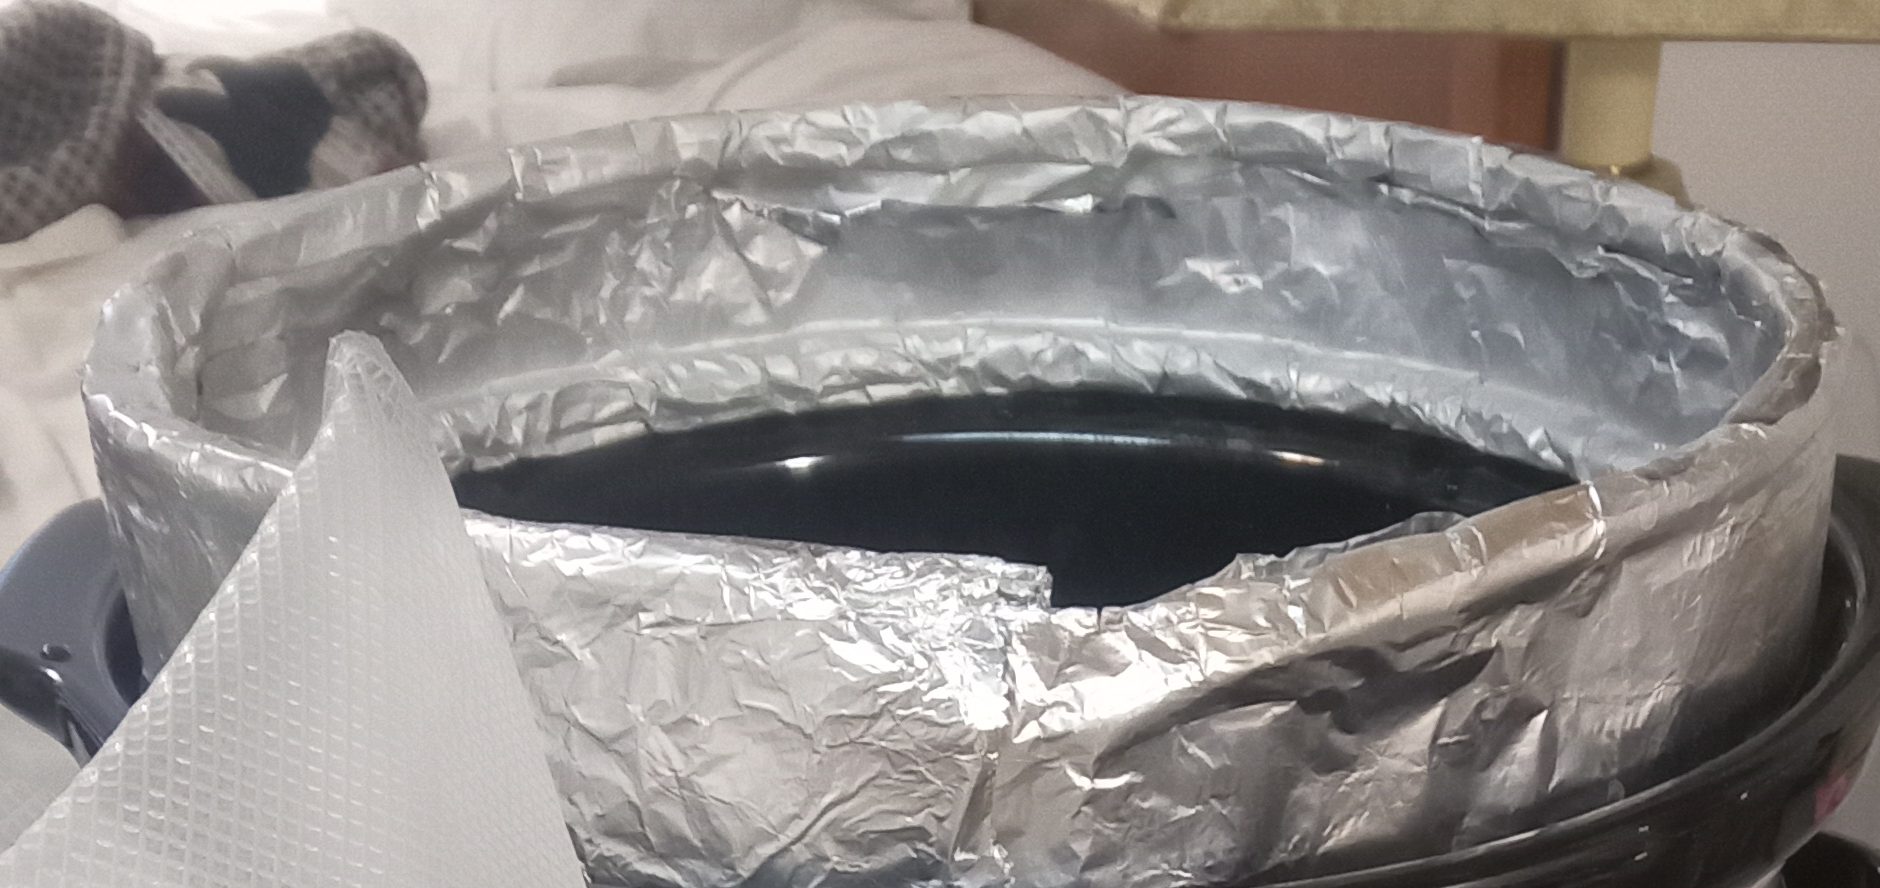
    Prepare you crock pot. I use a small cloth in the bottom to prevent the jar from rattling at it boils.

    My crock pot is a little too shallow to hold the jar with the lid on so I made an extension ring from aluminum foil.  This works well and helps keep the water from boiling away to quickly.

    Set your crock pot to low and leave it for about 8 hours. Make sure you keep the water topped up if the lid doesn’t work well.

    After the time has passed, shut off the crock pot and let the jar cool completely before handing.

    That’s it! You now have oil infused with devil’s club. You can store this in a cool dark place until you’re ready to use it. The longer you keep the oil and chips steeping, the stronger the medicine will be.

    5. Strain It

    When you are ready to use the oil, you need to strain it. You can use cheesecloth in a colander over a bowl or a pot, which is common. Simply line your colander with several layers of cheesecloth and suspend it over your bowl or pot. Empty your jar into the cheesecloth lined colander and wait for the dripping to stop. Gather all the sides of the cheesecloth and twist them together at the top. Continue to twist the top and compress the mass like a tourniquet, squeezing the remaining oil out.

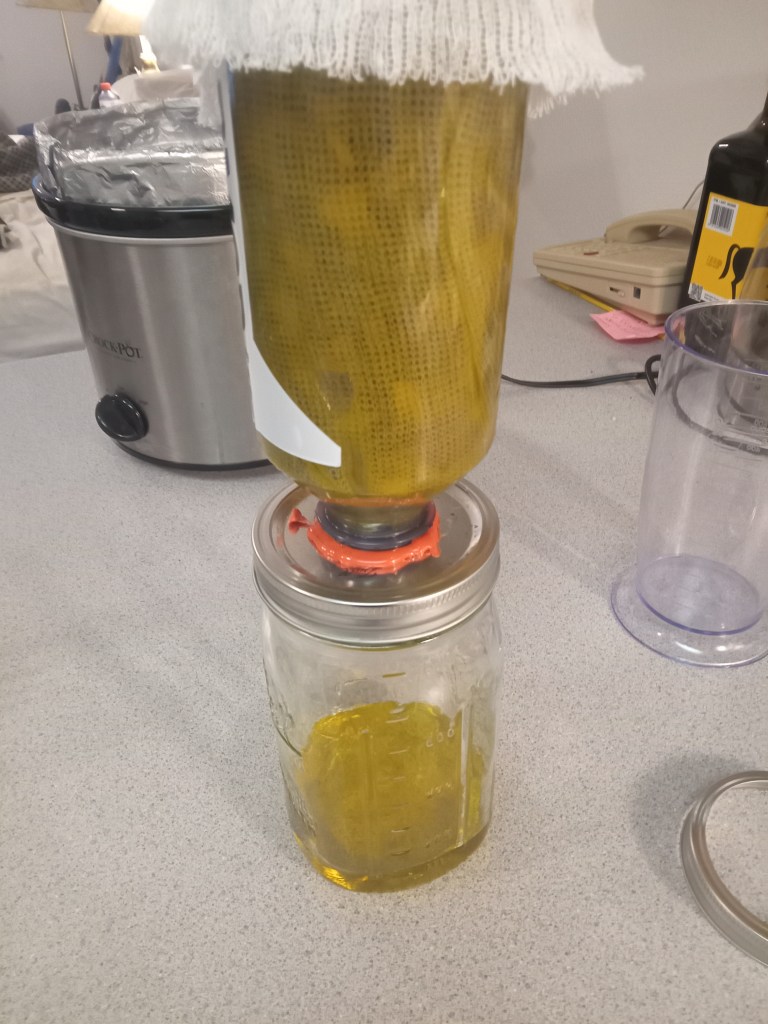
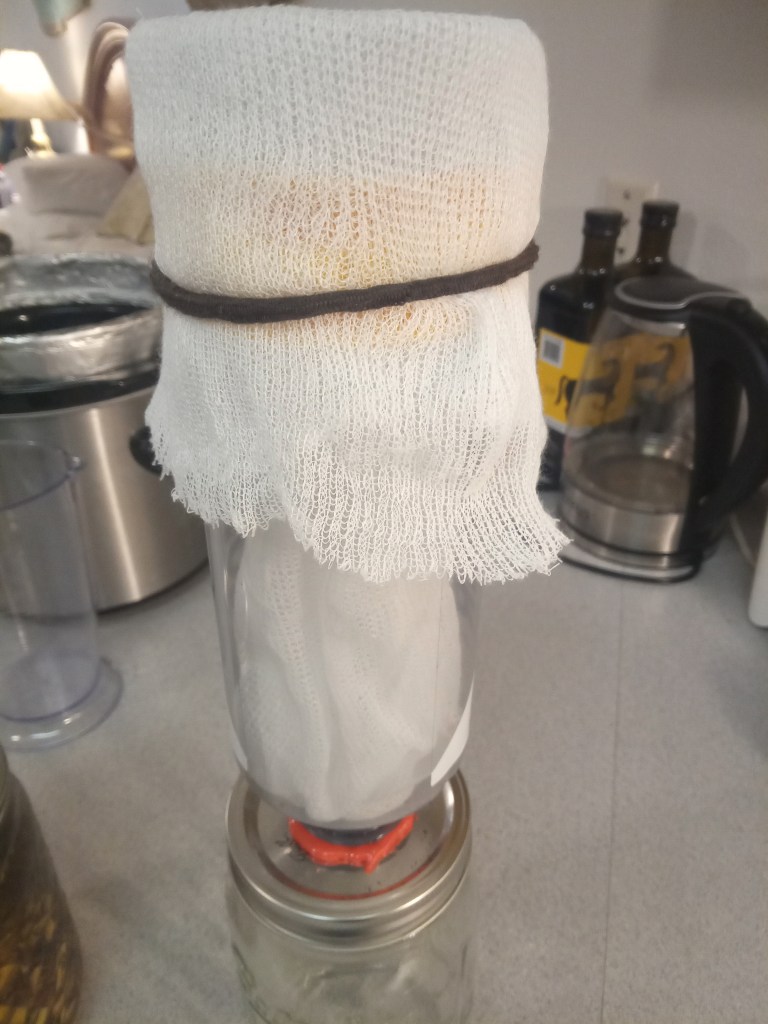
    I wanted something easier to deal with so I built a simple device that holds brewing mash filter bags, also sometimes called hops socks, over a clean jar. I used a strong 1 liter bottle with straight sides and cut the bottom off.

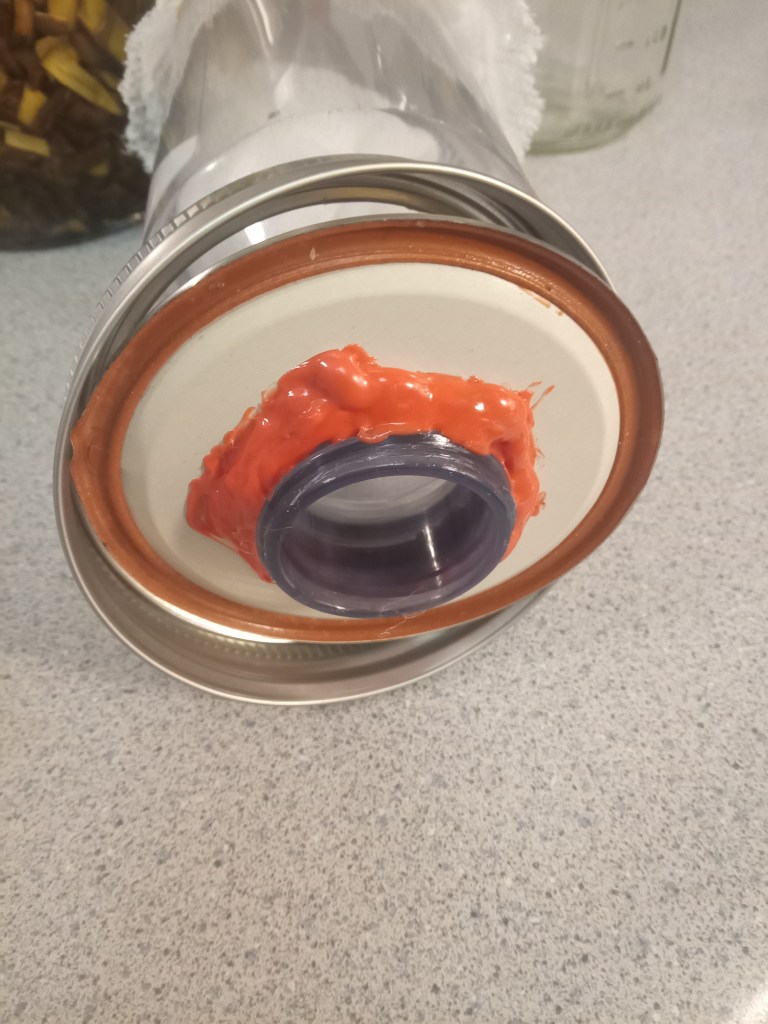
    I cut a hole in a used canning lid, added the sealing ring over the neck of the bottle and pushed the threaded bit through the hole in the lid. I used a copious amount of hot glue on both sides of the lid.

    I added a small strip of nylon strapping near the top to help a rubber band hold the bag secure. Now my strainer screws securely to the top of a fresh jar.

    After loading the strainer, I let it sit for a couple of hours, periodically pressing the chips down with gentle but firm pressure with a small thick piece of devil’s club cane. It’ll stop dripping after a while and you can remove the strainer from your jar.

    I’ll vacuum seal it until I’m ready to make salve. Stay tuned for the next post detailing that process!

    Gunalchéesh and thank you for reading!

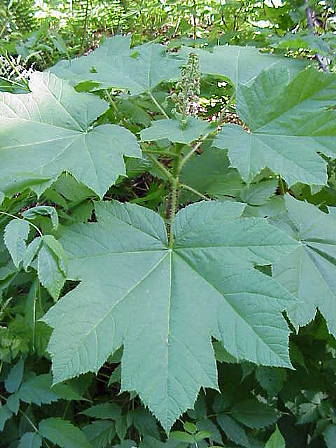
  • Devil’s club. An intimidating name befitting this plant. Oplopanax Horridus is it’s scientific name. It’s also known as Alaskan Ginseng, and while the genus Oplopanax is in the same family, Araliaceae, its not a true ginseng and the Oplopanax genus is chemically diverse from Panax. It has been used extensively by indigenous tribes for generations as healing medicine for a large variety of ailments, and indeed has become known as Tlingit aspirin. More recently, there have been several informative studies done on the chemical and pharmacological impacts of devil’s club.

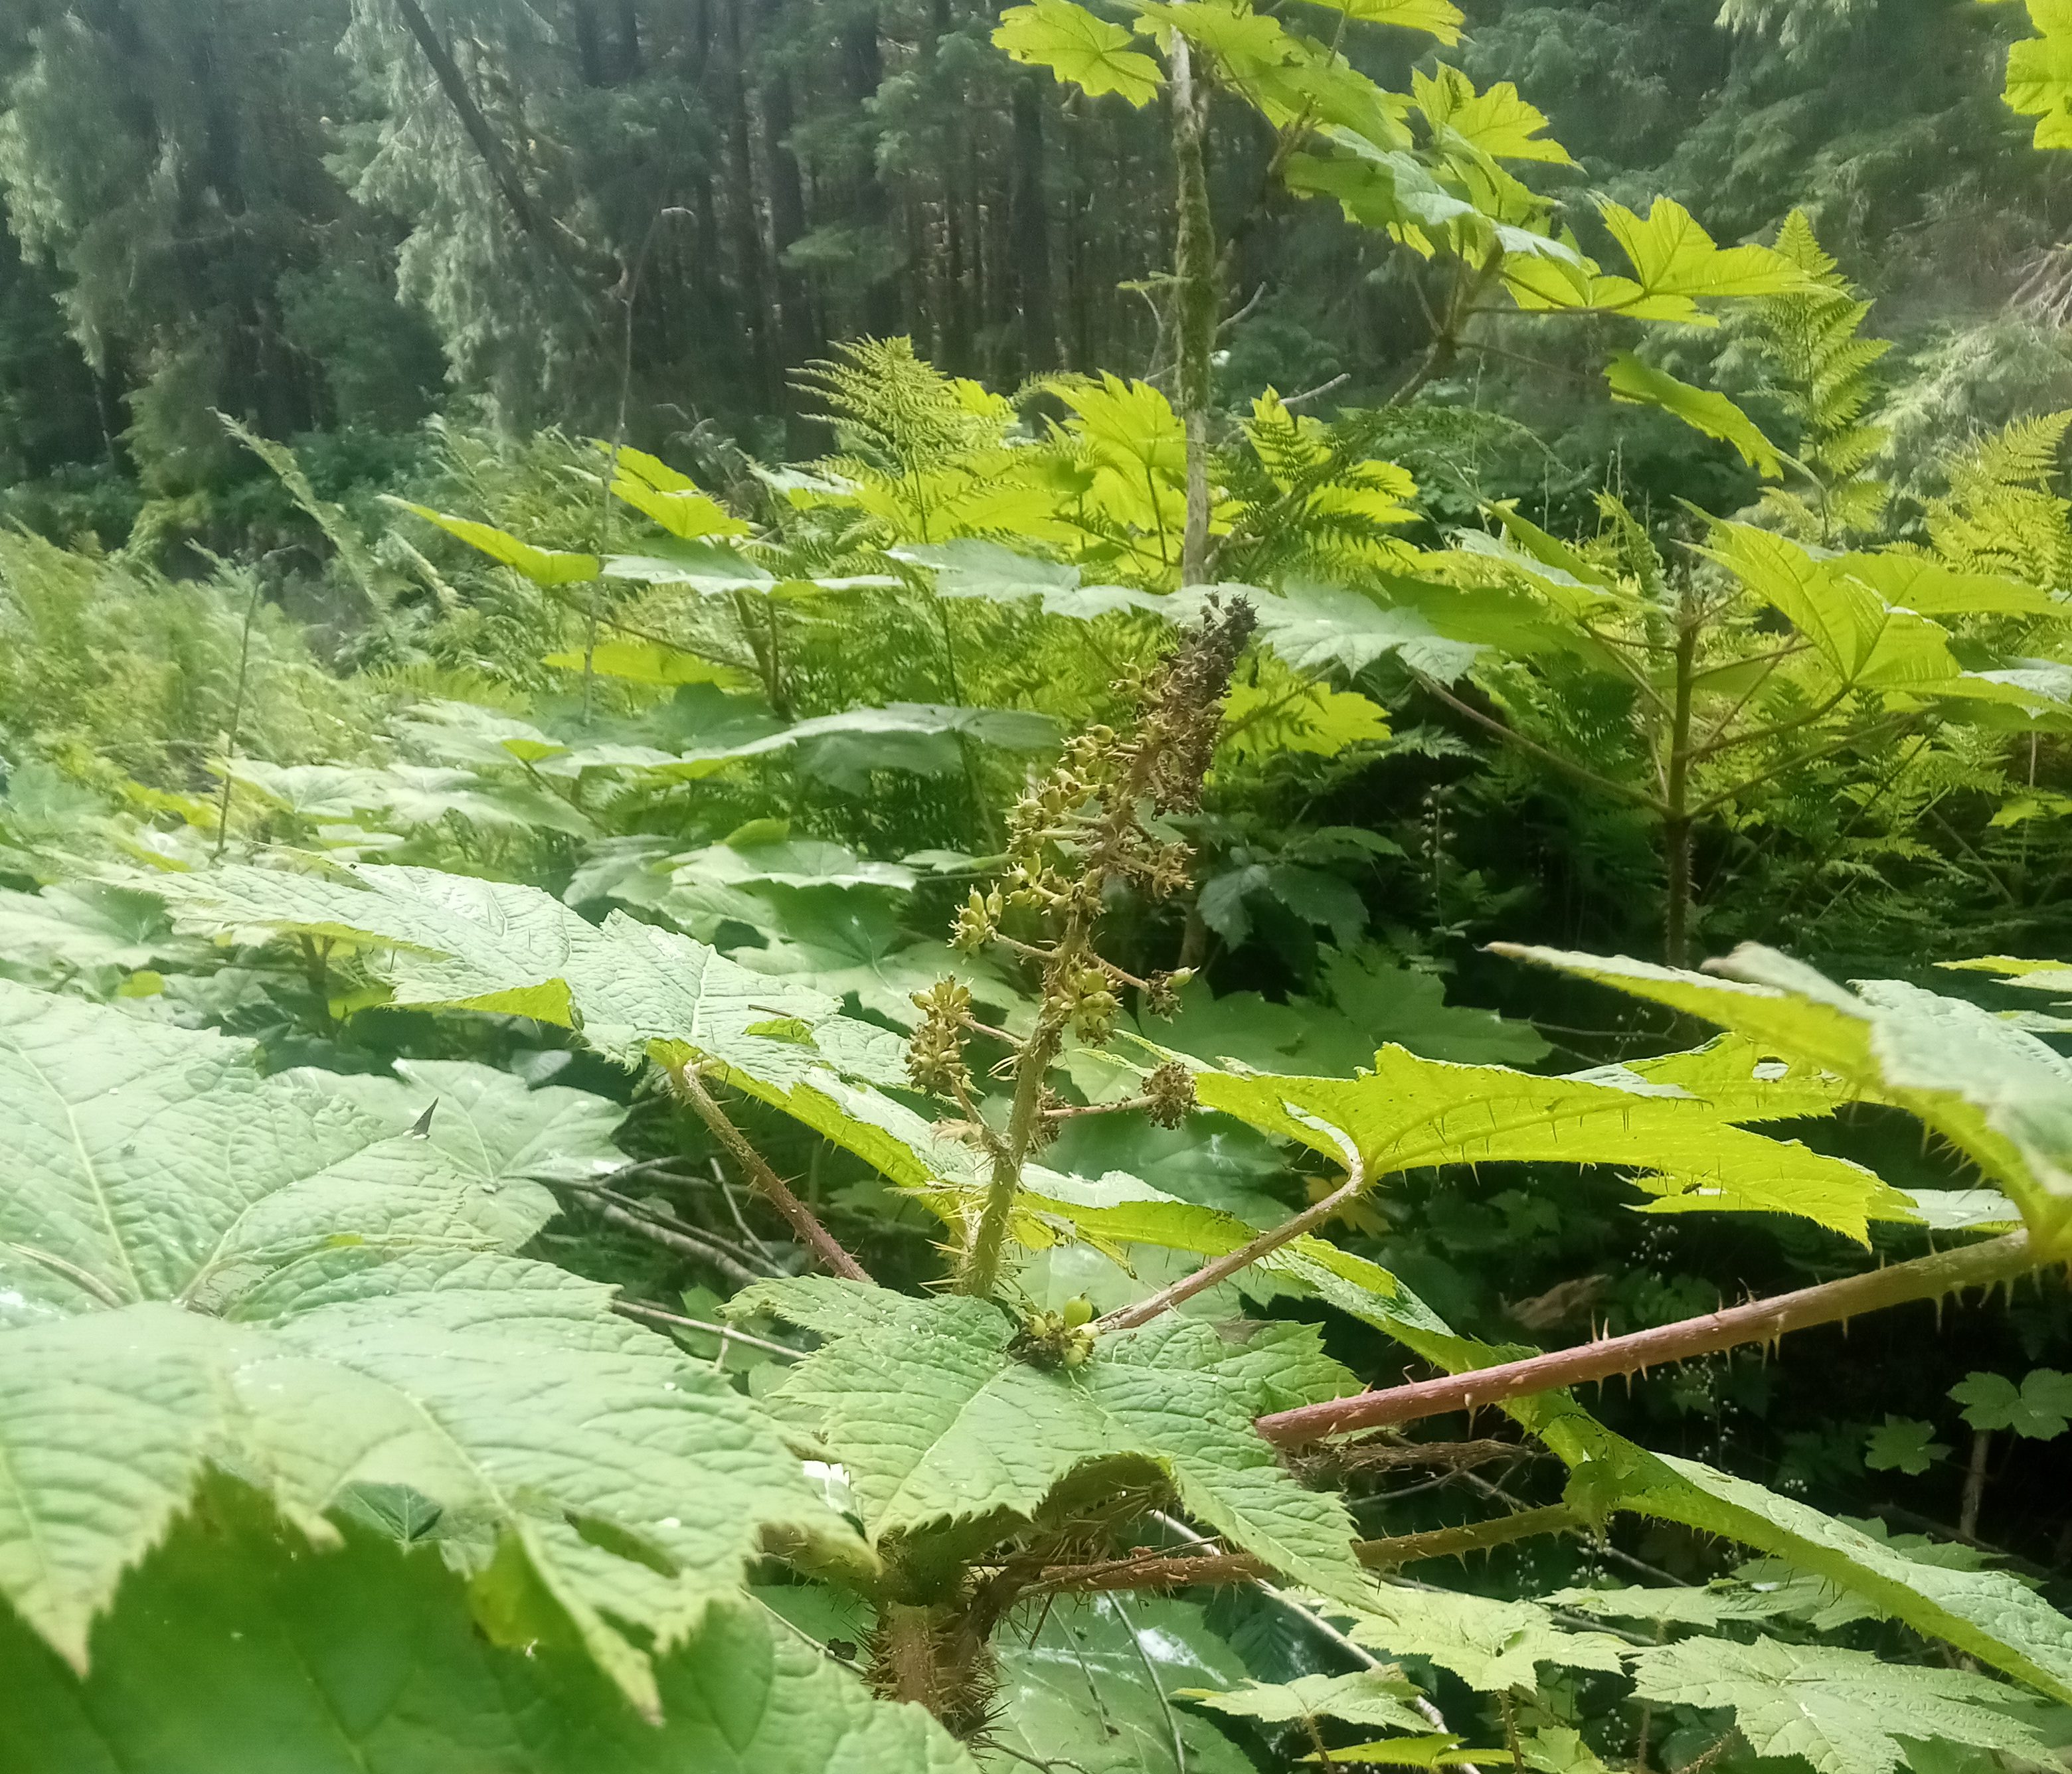
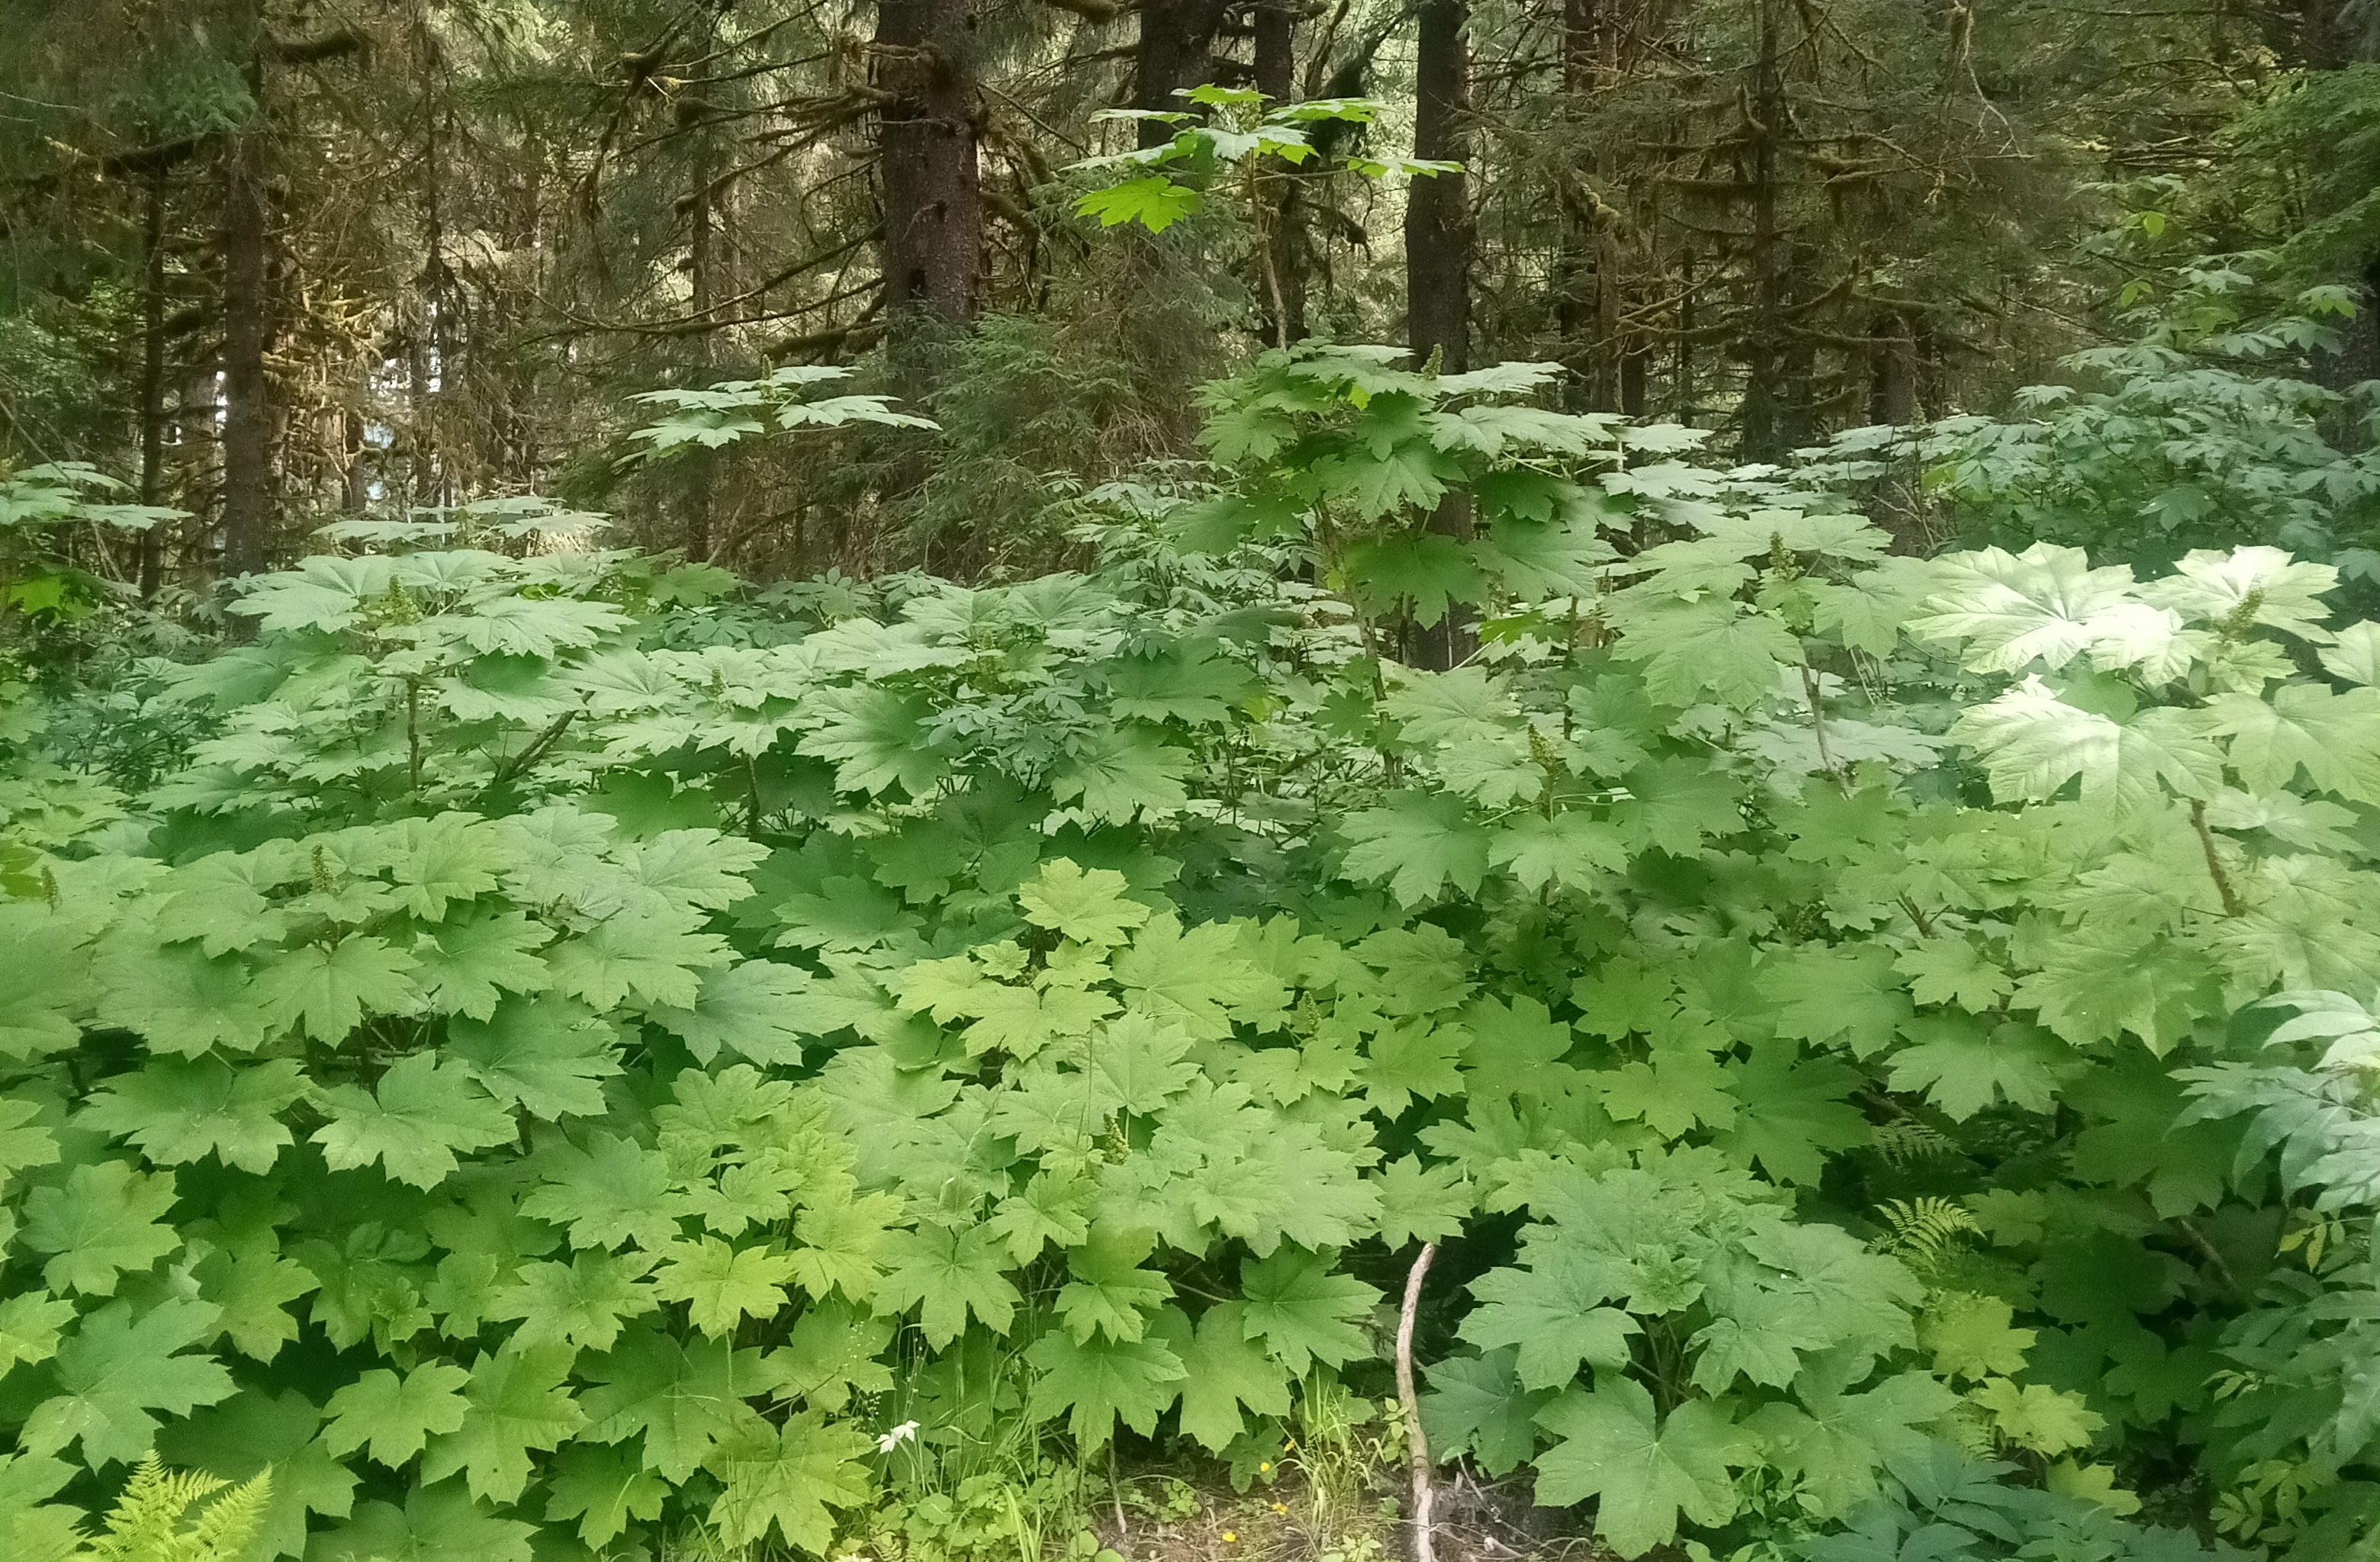
    Devil’s club grows in the rain forests of the Pacific Northwest, as well as a disjunct on some islands in Lake Superior. It has large woody stems covered in very nasty sharp spines. Each stem will generally have several large palmate leaves that also carry sharp spines along it’s stems and leaf veins. The spines can detach and become embedded in your skin causing festering wounds. Try to avoid the spines. It grows best near water and generally gets to be about 2 meters tall. Some plants, however, can shoot up to over 5 meters tall of they’re undisturbed and have the right conditions.

    The Devil’s Club inflorescence is a dense cone of flowers at the top of the stems. When pollinated, each flower develops into a small, inedible bright red drupe. The plant takes a long time to reach seed-bearing maturity, so it can persist through layering and rhizomatic clonal colonies, either through the roots or through the stems that bend over enough to touch the earth.

    “Hunters were in the mountains hunting bears. A hunter threw his spear and wounded a bear. The bear ran off. The lead hunter told the hunters they needed to find the bear. They tracked the bear by following the trail of blood left in the woods. The hunters could see the bear around some devil’s club. They stopped to watch it. They saw the bear use its paw to scrape off the thorns, and teeth to peel the cambium layer (the medicine) from the stalk. The bear chewed the cambium layer and placed it on his wound. The bear taught us that the devil’s club is powerful medicine.”

    As told by Daanawáaḵ, Lukaax̱.ádi Lḵoot Ḵwáan at Lḵoot Culture Camp.
    From the book Haa ḵusteeyí tlél aax̱ yoo uhéik: Our Way of Life Never Disappears. Sealaska Heritage Institute 2021

    There are many different ways to use devil’s club. Known as s’áxt’ by the Tlingit, they would use the roots and inner bark as a chew, poultice, tonic, tea, bath, or ointment depending on the ailment. In a bath, for example, devil’s club is said to reduce the pain from rheumatoid arthritis. Taken internally as a tea or tonic, and it will help heal coughs, colds, ulcers, and even tuberculosis1. Other studies have discovered anticancer properties in several novel compounds found in devil’s club2. Different parts of this plant are used by over 38 linguistic groups for over 34 categories of physical ailments3.

    It wasn’t just medicine. It’s branches hung over a doorway wards off evil spirits. Charms, earrings, and pendants are carved from the wood. The charcoal is used to create ceremonial face paints, tattoos, and natural deodorant. Devil’s club wood is exceptionally strong for how lightweight it is, and has been used to carve fishing lures and hooks.

    I’ll be using it to make salve for The Project. I use the inner bark of devil’s club, responsibly harvested locally, prepared in extra virgin olive oil, combined with beeswax, and poured into tins. It’s simple, honest medicine that will relieve sore muscles and joint aches, alleviate skin irritations, soothe arthritis, and protect against bacteria and infection.

    Gunalchéesh, Háw’aa, and Thank you!

    1. Calway T, Du GJ, Wang CZ, Huang WH, Zhao J, Li SP, Yuan CS. Chemical and pharmacological studies of Oplopanax horridus, a North American botanical. J Nat Med. 2012 Apr;66(2):249-56. doi: 10.1007/s11418-011-0602-2. Epub 2011 Nov 20. PMID: 22101399; PMCID: PMC3345165. ↩︎
    2. Wu K, Wang CZ, Yuan CS, Huang WH. Oplopanax horridus: Phytochemistry and Pharmacological Diversity and Structure-Activity Relationship on Anticancer Effects. Evid Based Complement Alternat Med. 2018 Sep 13;2018:9186926. doi: 10.1155/2018/9186926. PMID: 30302120; PMCID: PMC6158975. ↩︎
    3. Trevor C. Lantz, Kristina Swerhun, Nancy J. Turner. Devil’s Club (Oplopanax horridus): An Ethnobotanical Review. ISSUE: 62 Page: 33-48 American Botanist Society Herbalgram
  • Hello, and welcome to The Grateful Healing Project. My first product is going to be a devil’s club salve. In this post I’ll explain my methods of choosing, harvesting, and processing the devil’s club in preparation for making medicine. If you’re not familiar with devil’s club, feel free to go check out my page all about devil’s club.

    Finding Devil’s Club

    First, you have to find a good spot to harvest. My favorite spots have an abundance of devil’s club growing in a huge area. There are a few places you might see a single devil’s club plant, or just a couple of plants without any others nearby. I’ll avoid those plants for the most part because I want to encourage more of it to grow in those areas in the future. I like to keep a lookout for any plants that may be damaged. Sometimes, kids will whack the top of the plants with sticks, or trail vehicles will run into them damaging them. I’ll try to harvest those plants first. They always seem eager to come home with me. I’ll avoid stems that have grown horizontally across the ground or bent over and touched the ground. They can eventually reproduce that way. I’ll try to avoid any plants with an inflorescence or fruit on the top. Not every stem has one and I want the ones that do to continue their reproduction cycle. Later in the year I won’t worry about this too much, but you really want to harvest earlier than later anyway. I got a pretty late start on it this year in July, but it was kind of a strange winter that seemed to last a lot longer than normal, truncating what would have been springtime.

    Cutting Devil’s Club

    You have to make sure the stem you want to harvest is accessible and won’t fall backwards on you when you cut it. You can use a pair of tongs, or a pair of channel lock plier with tape on the jaws to gently handle the stem near it’s center of gravity when cutting. I try to ensure I’m not stomping too much on surrounding plants and I try to respect the area as much as possible.

    I use a simple plastic pipe cutter (std. shear type) to cut the stems. You can use any type of shears capable of cutting 1 to 2 inch diameter branches. I do not find it difficult to cut through when the stems are healthy or young, but they can be tougher when they have begun to dry out.

    Scraping Devil’s Club

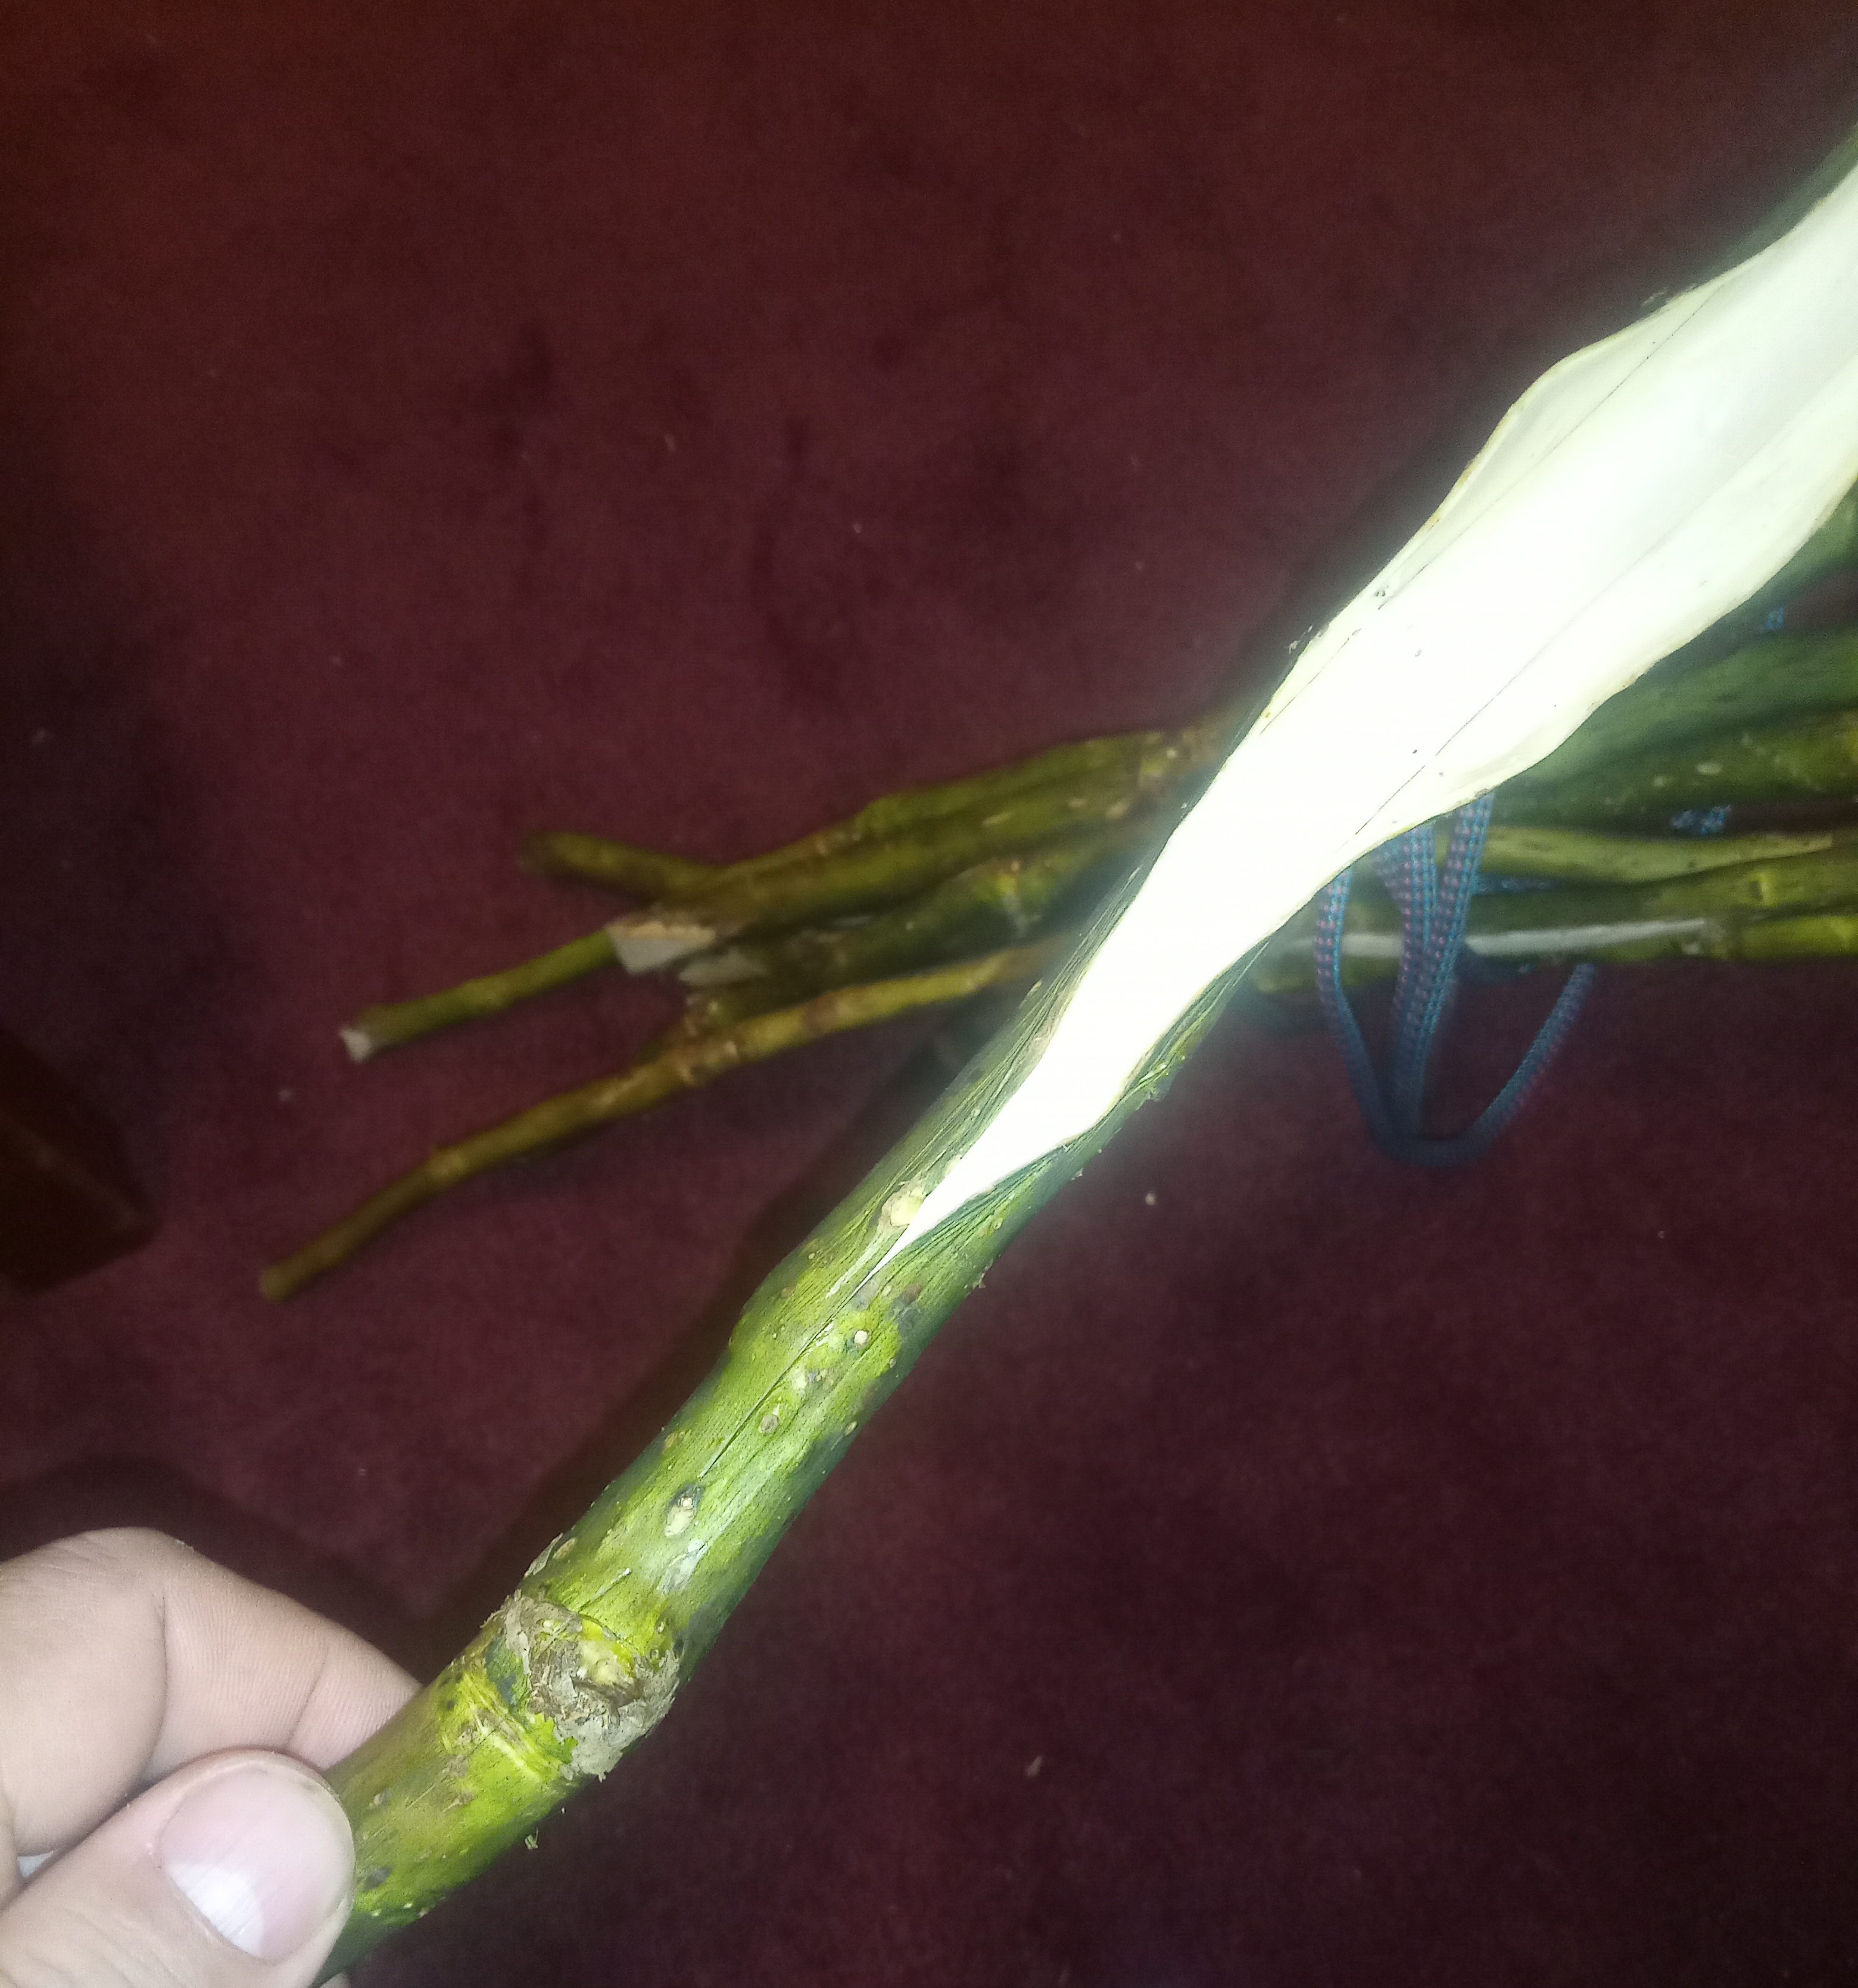
    Once you cut the stem you want, you can use a sharp edged tool to gently scrape away the spines and outer bark. The outer bark is extremely thin, like a peanut skin. You want to be careful when scraping that you don’t damage the inner bark. You can use your tape-jawed channel locks to gently hold it while you scrape off the spines near the end, then you can just hold onto the handle area you’ve scraped off to do the rest of the stem. Try to avoid scraping towards yourself or you will find yourself covered in the spines. Wear glasses as the spines can and will shoot off sometimes.

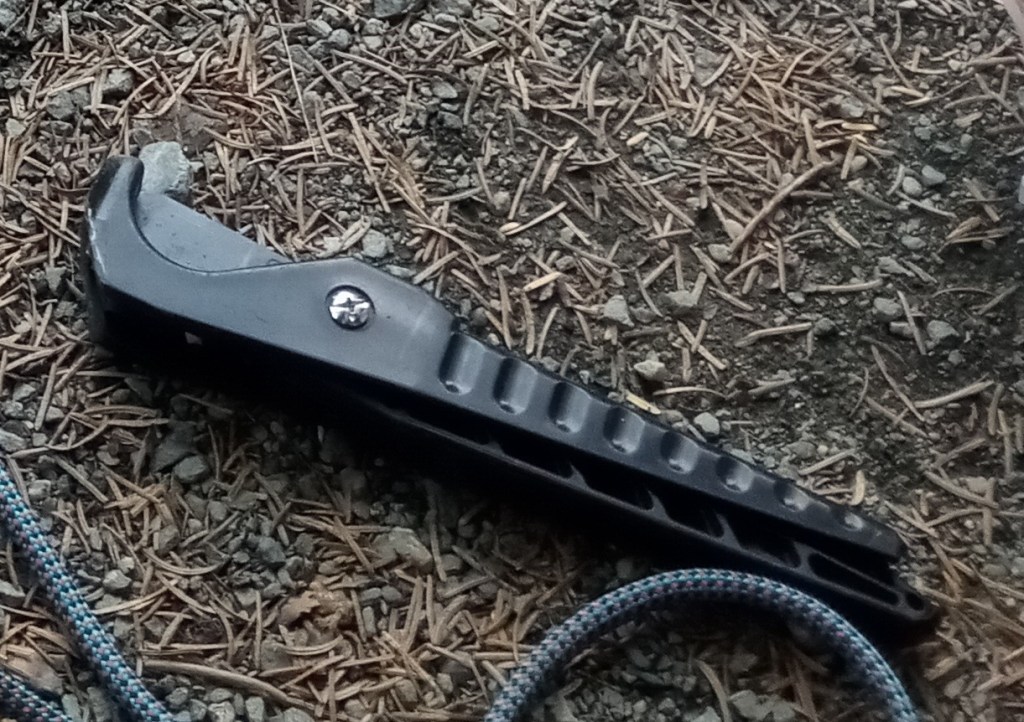
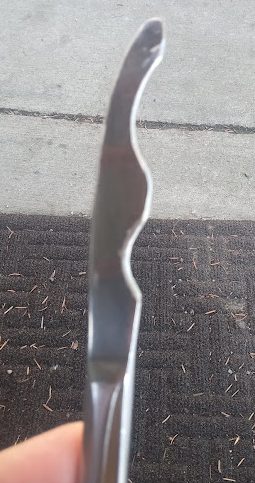
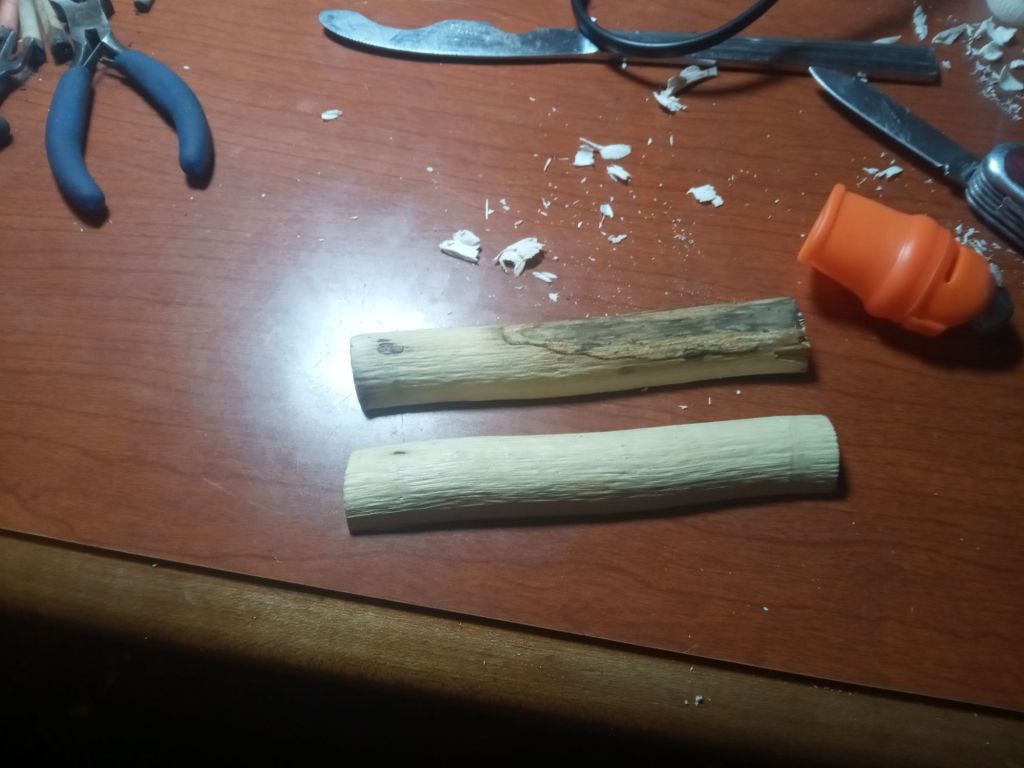
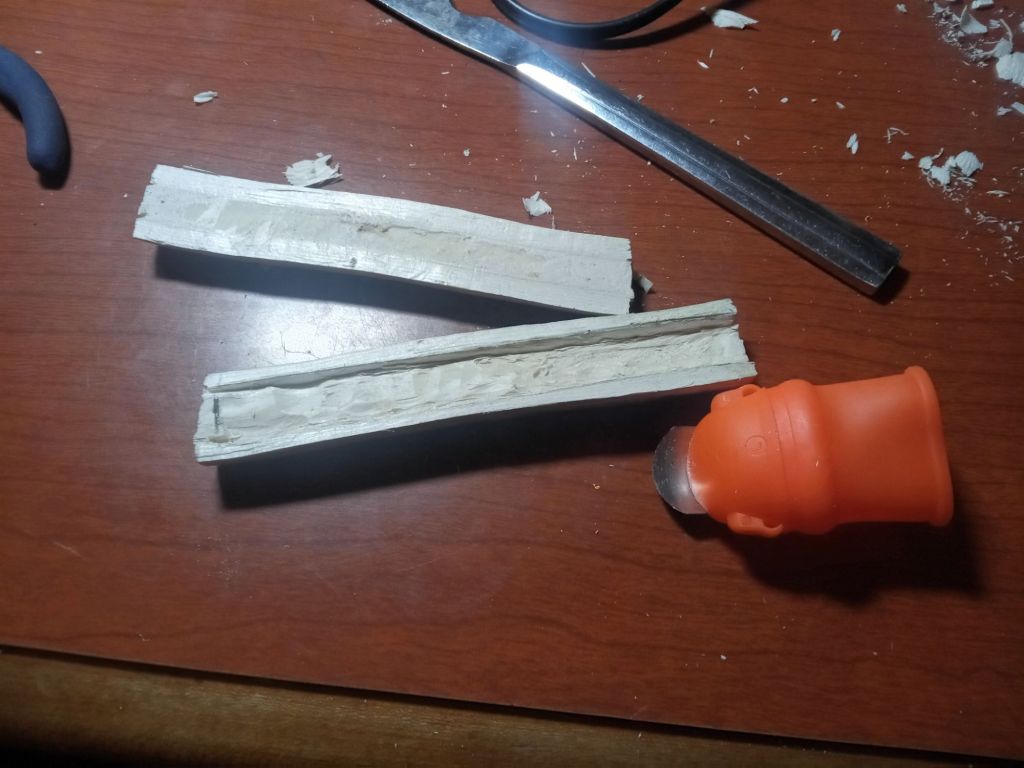
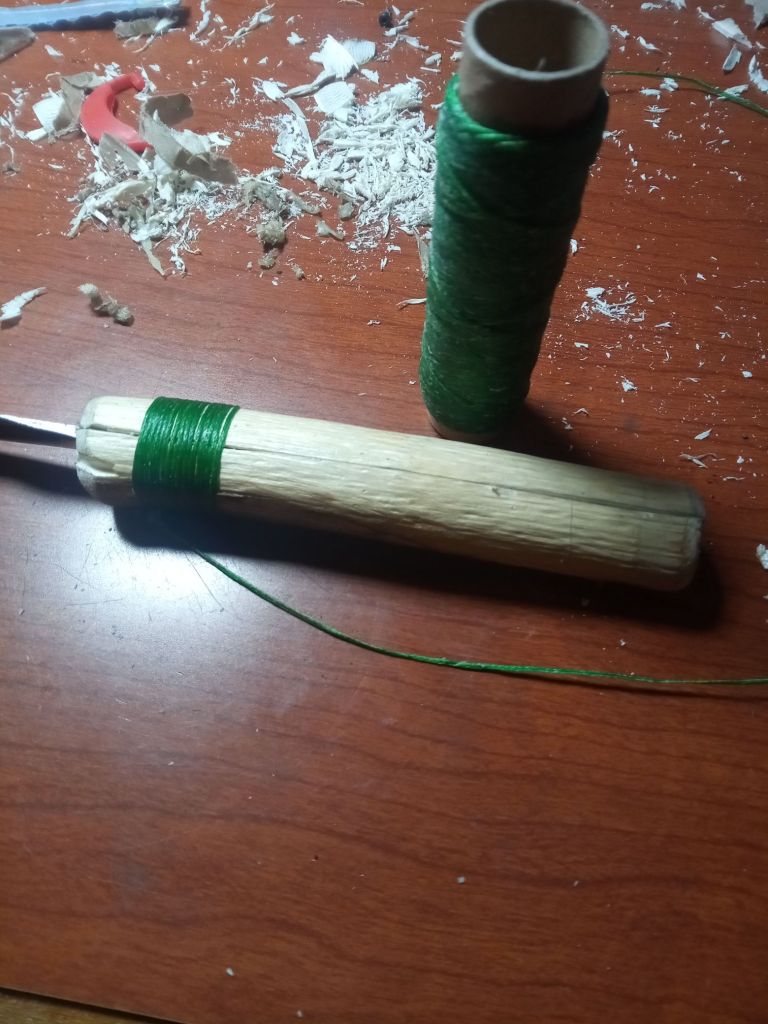
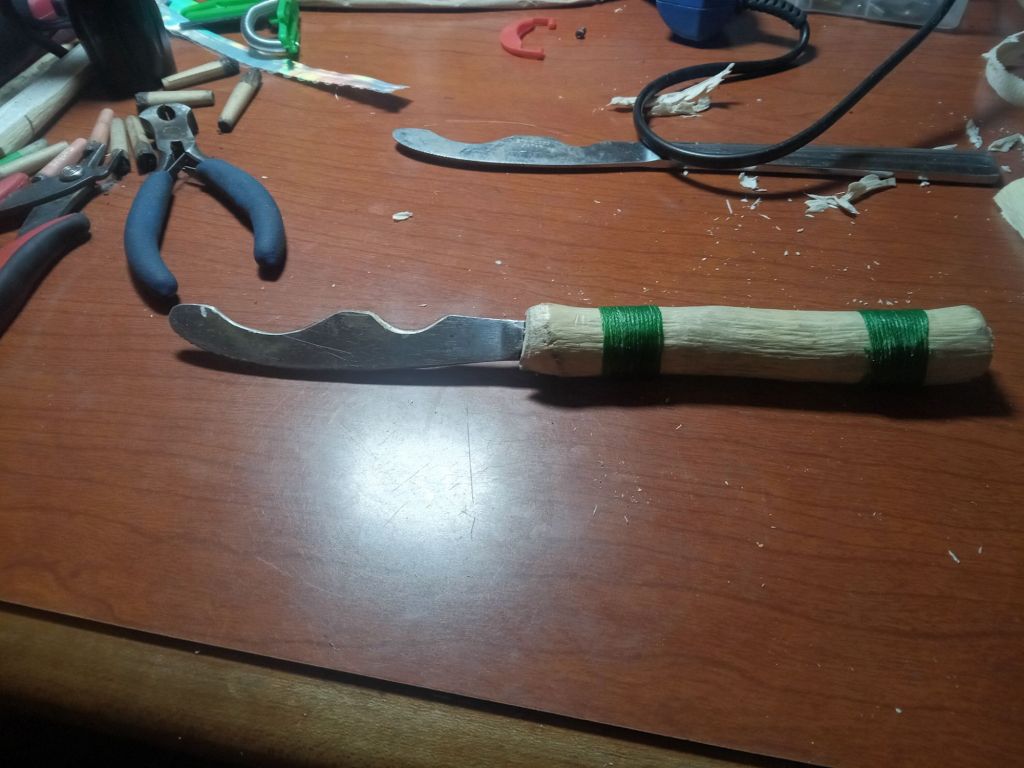
    I made a special tool for scraping the spines and outer bark. It’s just a couple of curves cut into the back of a butterknife blade. I used a Dremel style multitool but it took over an hour and I used 5 tiny discs. I imagine that if you have access you a bench grinder or a vice and an angle grinder, you’ll be able to create one of these in just a few minutes. This tool works brilliantly to quickly scrape off the spines and outer skin without damaging the inner bark at all. Imade a handle from a pice of dried devil’s club cane. I split it with a pocket knife, and dug out the inside with a thumb knife to fit the butterknife handle. I used a little hot glue, then did a couple of wraps with waxed that to hold it together. The scraper works great, and i highly recommend making one.

    Peeling the Devil’s Club

    Once you’ve scraped all the spines and outer skin-like bark from the stems, you’ll be left with green, very fragrant, slightly damp sticks. You’ll then want to take a sharp knife and slit the inner bark from one end of the stick to the other. From that cut, you should be able to peel the inner bark off the wood inside. Your custom carved scrapinator 9000, or just any regular butterknife, will help peel it from the wooden bones.

    Trimming the Devil’s Club

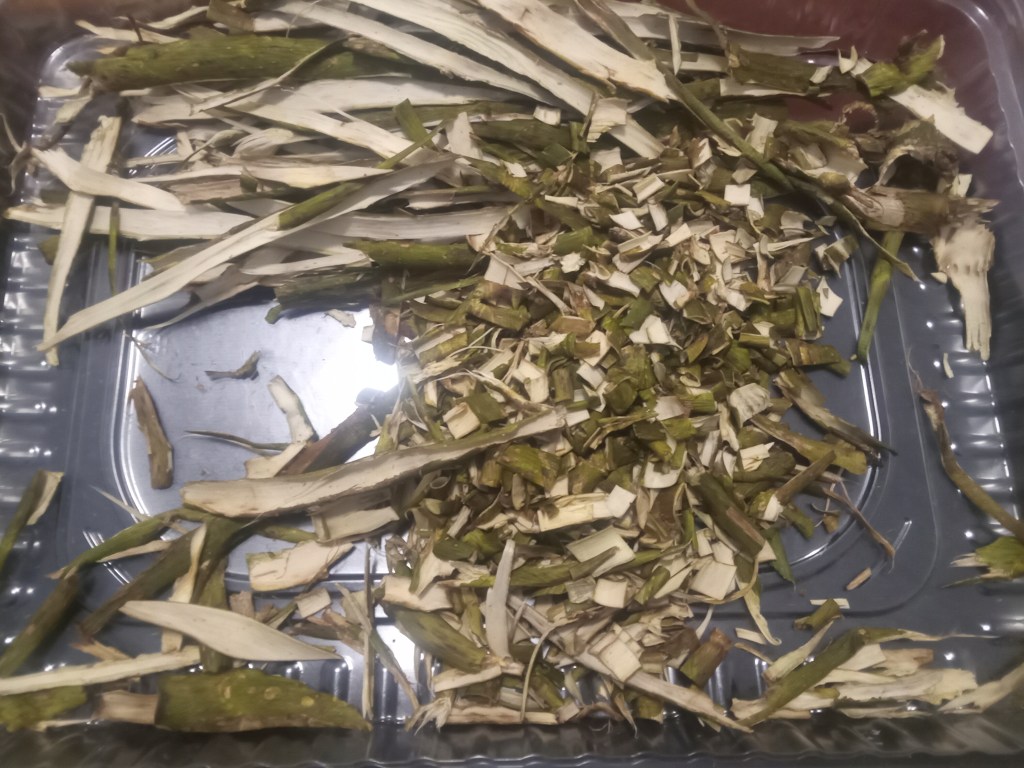
    Once you’ve got all of your inner bark collected, you can cut it into smaller pieces. I find it’s easier to do this while it’s fresh. If you’re drying it first it will allow you more consistency and speed up the drying process. If you’re using it fresh, it will allow for easier measurement and smoother container transfer.

    That’s pretty much it. At this stage you’re ready to make the medicine of your choice. You can put it in olive oil to make salves and lotions. You can put it in ethanol to make tinctures and tonics, you can steep it in hot water to make a bath or a pot of tea, and you can use it fresh or dry it out for use in the future.

    Gunalcheesh, Haw’aa, and Thank you for reading!