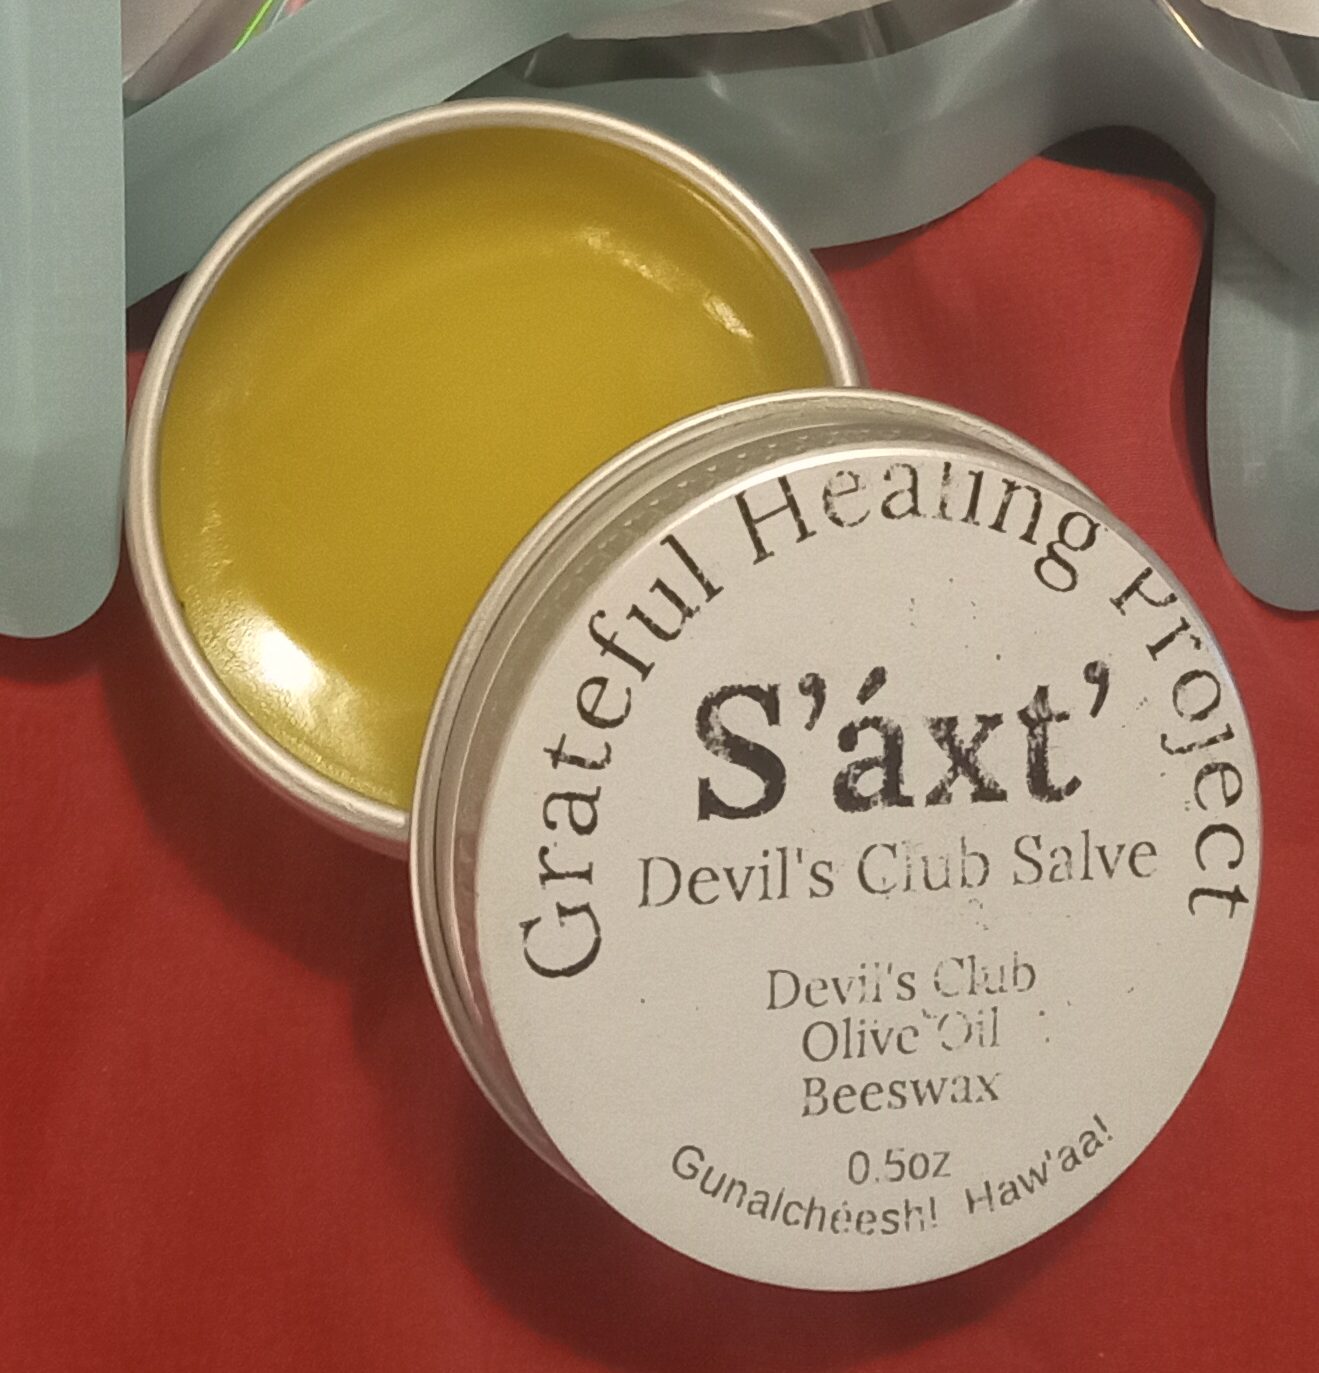
Hello! Welcome back. This post will describe how I’ve made the devil’s club salve for the project.
1. Gather your things!
Materials needed:
Double boiler setup.
Devil’s Club Oil.
Beeswax.
Measuring cup, or anything for dispensing.
Containers to hold the final product.
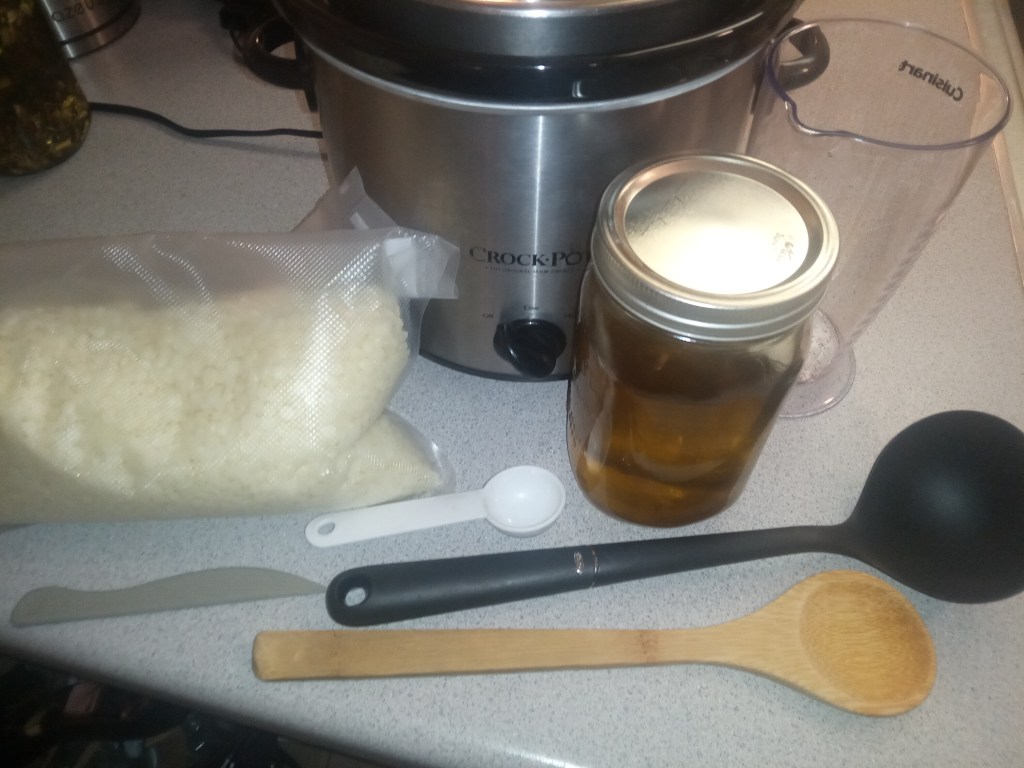
First, gather and set up all of your equipment and tools. Keep in mind that these tools will be in contact with oily wax. I would advise against using your everyday cooking utensils. I recommend going to a thrift store to aquire a set of tools dedicated to this. I spent about $9.00 at the local St. Vincent de Paul thrift store and got a 2qt stainless steel bowl, a 3 cup measuring cup, a measured tablespoon, a wooden spoon, and a plastic ladle. Your results may vary, but you get the idea.
For the double boiler you can use a pot of water on the stove kept to a simmer with a metal, or tempered glass, bowl sitting on top of the pot. I used a crock pot with a stainless steel bowl suspended inside.
Arrange your containers on a tray or a cookie sheet to minimize messes.
2. Heat up your oil and add beeswax
You will need a neutral oil infused with the inner cambium of Devil’s Club. You can click here to check out this post about how it’s made.
The ratio of beeswax to oil is roughly 1 to 5. That is, 1 part of beeswax for every 5 parts of oil. Both olive oil and Beeswax have a volume to weight ratio very close to 1:1 (~0.916 g/ml and ~0.965 g/ml respectively). This means you can sort of mix and match your units if that makes it easier, since oil is easier to measure volume, and beeswax can often be more easily measured by weight. For example, you could measure 500mL of oil in a measuring cup, and mix in 100 grams of beeswax that you weighed on a kitchen scale. Obviously this is not exact, but it really doesn’t need to be. I recommend working with multiples of 5 when measuring your oil in the double boiler to make it easier to calculate your wax needs.
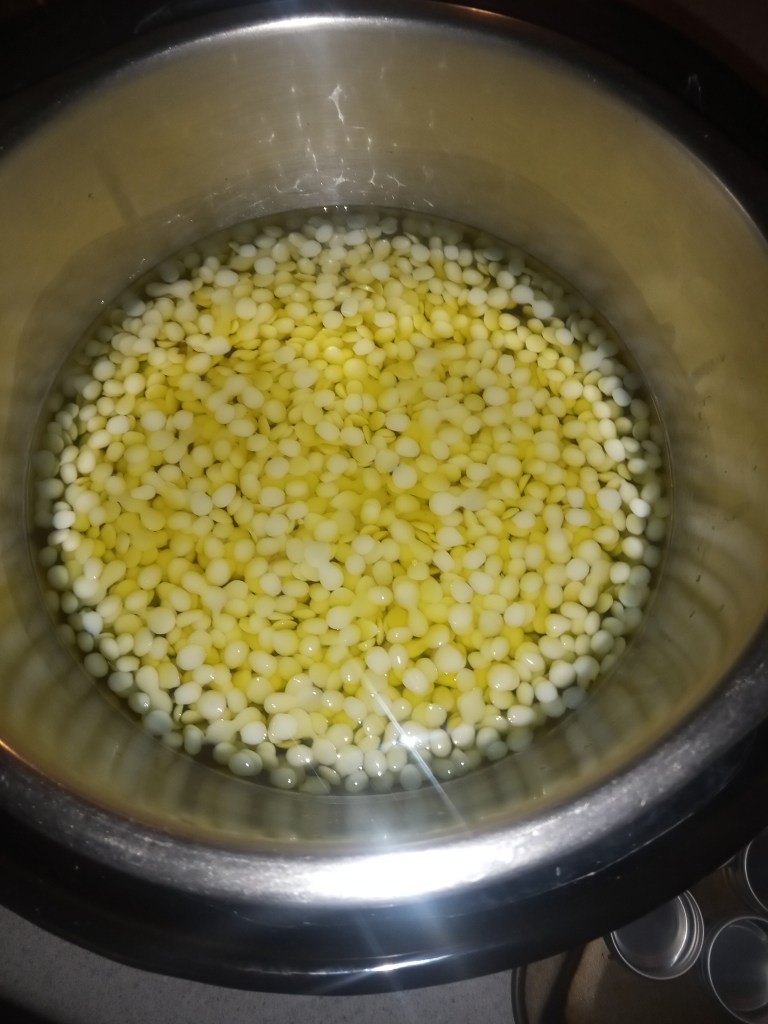
Let the oil and wax heat up until the wax has completely melted and thoroughly incorporated into the oil.
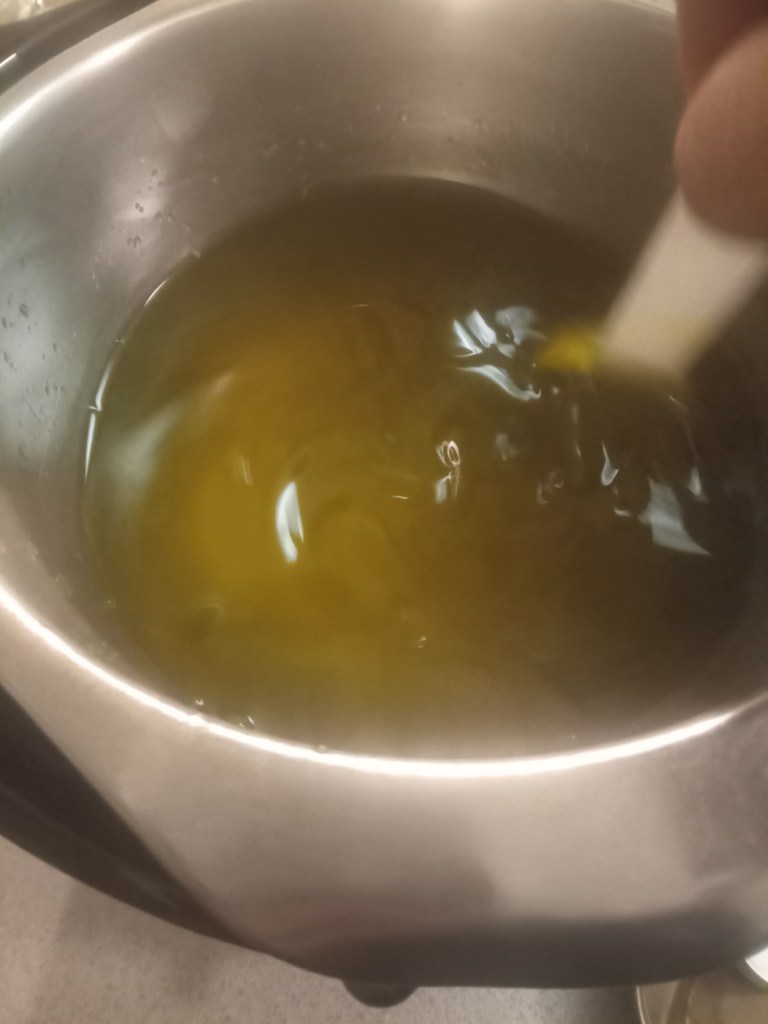
3. Test it!
At this point you can test the consistency of your salve by putting a few drops on a cold metal surface, like a clean baking sheet.
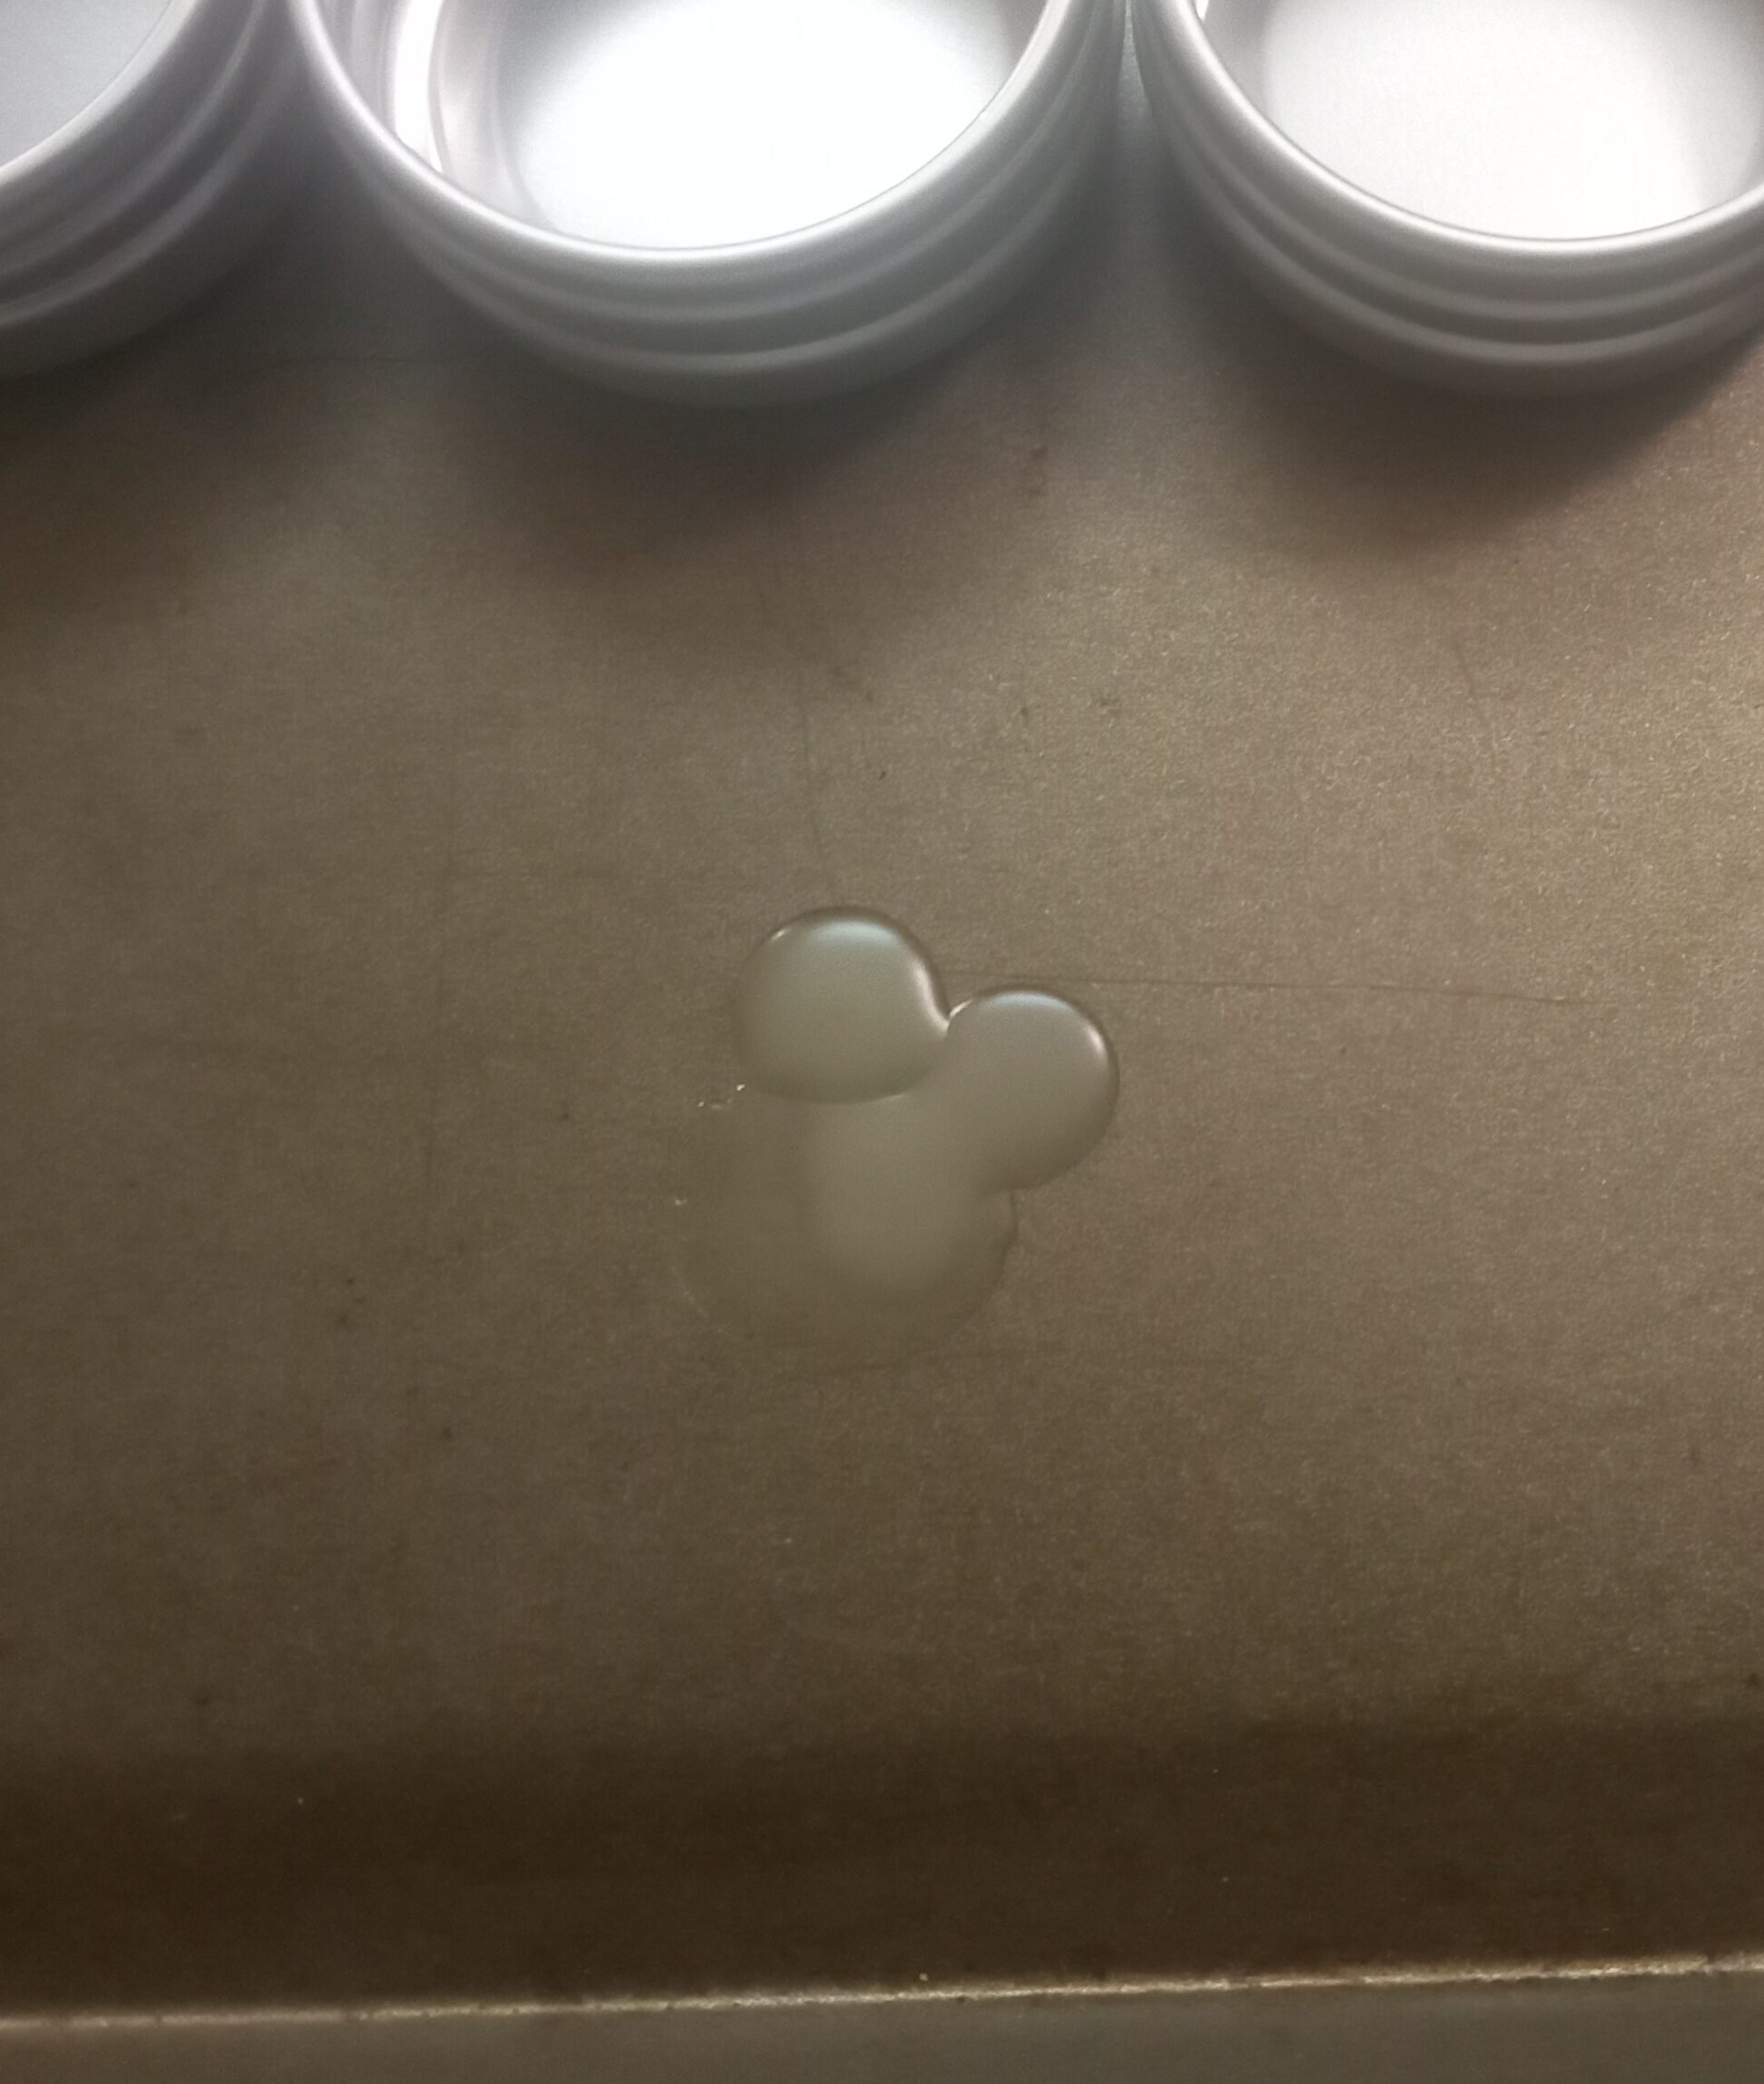
If you find it too stiff, you can thin it out with a little of your infused oil and test it again. If its too thin and runny when cool, you can add a bit more beeswax. Take note of your final ratio so you can reproduce the consistency you like again later.
4.Dispense it!
Now you can begin dispensing the salve into your containers. Make sure your containers have nice fitting lids to keep your salve from drying out. Having an assortment of different sized containers is nice. You can make large containers for home use and small containers for gifts or travel.
For the project, I’m using 1/2oz tins so I used a 15ML measuring spoon to make sure each tin was filled evenly.
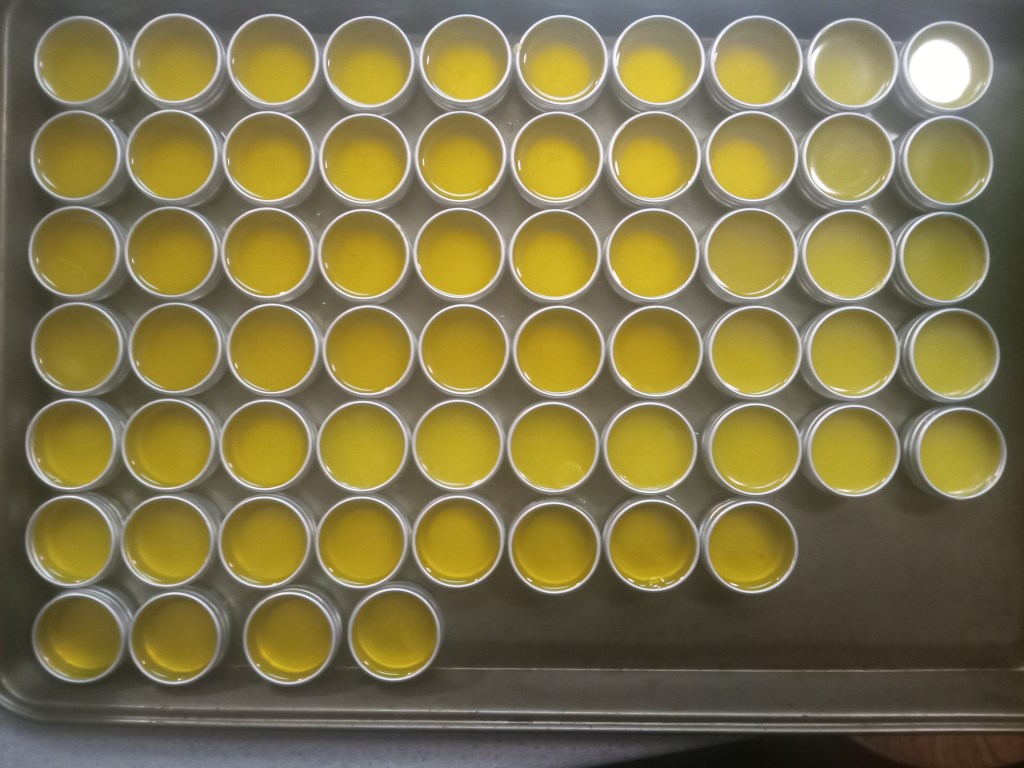
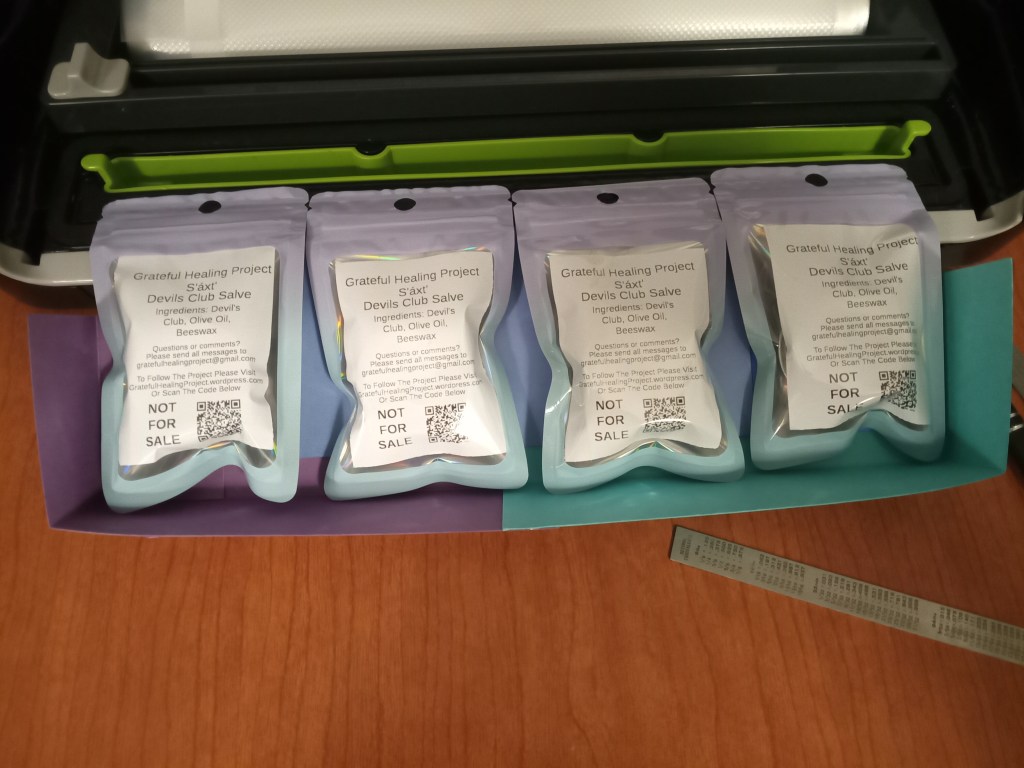
After screwing the lids back on and wiping then down with a clean cloth, each tin gets a label, goes in a bag and gets sealed with the food saver. I made a little card stock jig to seal 4 at a time.
The final product came out very nice and three majority of it has been distributed toTlingit & Haida’s Community & Behavioral Services Healing Center for their community vending machine located at the Edward K. Thomas building, and the Tlingit & Haida Elder Connection program.
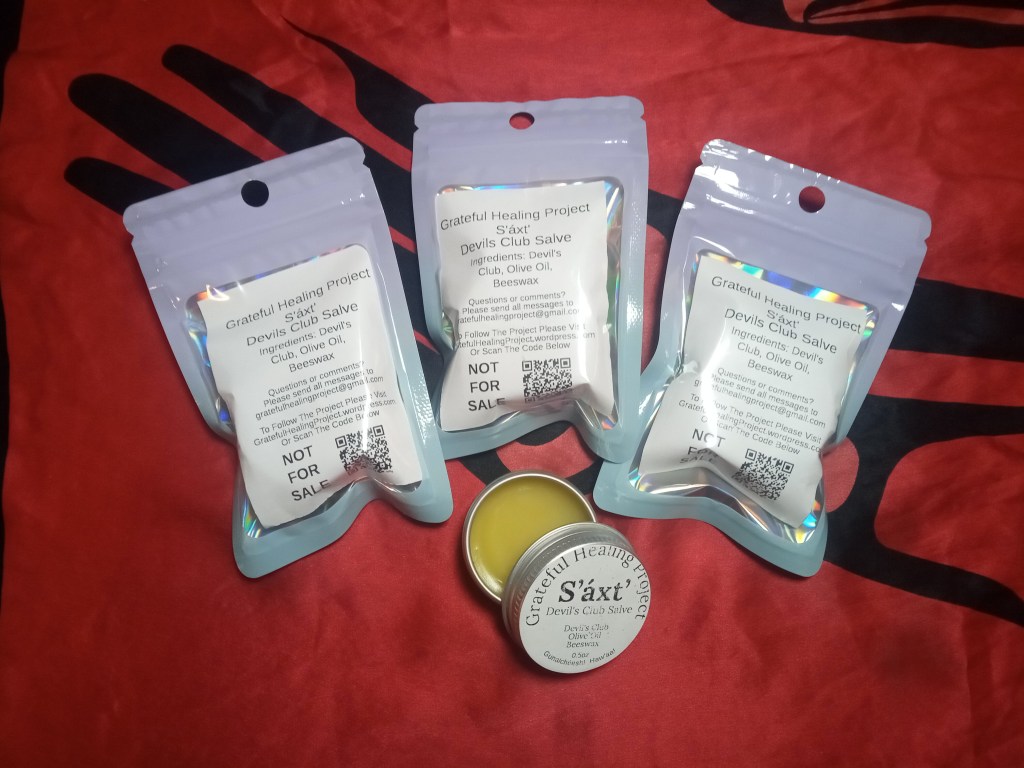
The next batch will be coming soon. Gunalchéesh and thank you for reading!!
 The Grateful Healing Project
Leave a comment